
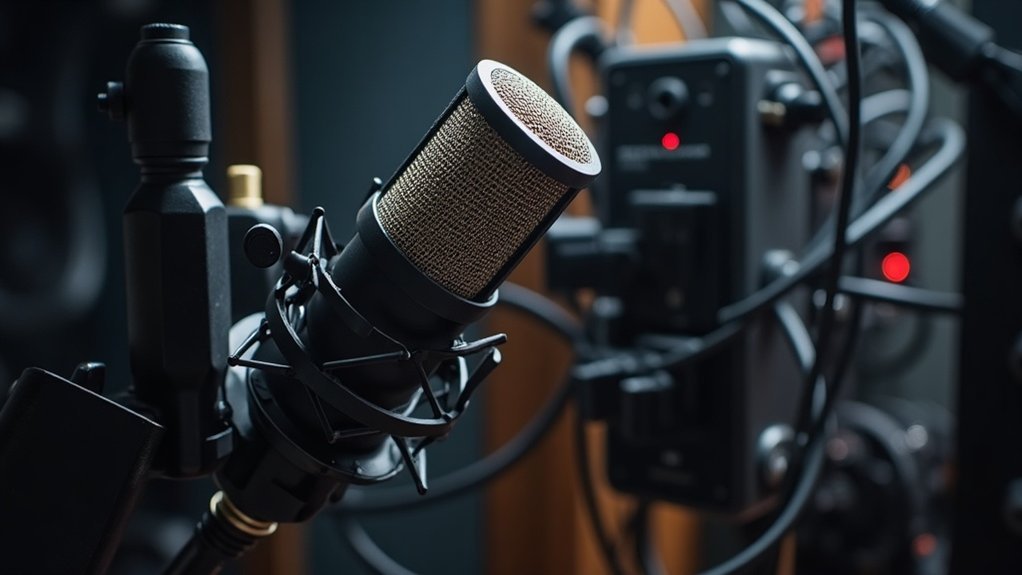
Your microphone hum likely stems from ground loops created by multiple power outlets on different circuits, electromagnetic interference from nearby devices, or poor cable shielding degrading your signal. USB-connected interfaces, inadequate power supply smoothing, and unbalanced cables like TS or RCA connections worsen the problem. Environmental factors—fluorescent lighting, HVAC systems, shared AC circuits with high-current devices—also contribute.
Understanding why your microphone hums is crucial for creators, podcasters, and streamers investing in affordable recording setups. The culprit’s usually your signal chain itself. Recognizing why does your microphone hum**** helps you identify whether the issue originates from your equipment, cables, or environment.
For musicians and gamers, pinpointing the source of microphone humming means the difference between unusable recordings and broadcast-quality audio. Common causes include ground loop interference, electromagnetic radiation from computers and monitors, or inadequate shielding in budget-friendly microphone cables. Even professional-grade affordable microphones can produce audible hum if your signal chain has weak points.
Understanding your specific setup’s weak points reveals exactly where to intervene—whether that’s investing in balanced XLR cables, relocating your microphone away from electrical interference, or upgrading your audio interface. For streamers, podcasters, and content creators on a budget, solving microphone hum issues often requires no additional purchases, just strategic repositioning and proper grounding techniques that maximize your existing equipment’s potential.
Key Takeaways
- Ground loops from multiple power sources on different circuits create electrical interference that produces audible hum in microphones.
- Poor cable shielding and unbalanced connections allow electromagnetic interference from nearby devices to contaminate your audio signal.
- Inadequate power supply smoothing and transformer shielding inside equipment introduce power supply hum into the microphone signal chain.
- Environmental factors like fluorescent lighting and HVAC systems generate ambient noise amplified by microphone preamp settings.
- USB interfaces and laptop chargers can complete ground loop circuits, particularly when plugged into different electrical outlets simultaneously.
Where Microphone Hum Comes From
Simultaneously, your preamp settings may amplify ambient noise—HVAC systems and mechanical vibrations—into noticeable hum. The noise floor of your recording environment establishes the baseline level of background sound that your microphone will capture. Poor connection integrity and inadequate cable shielding compound these issues.
For affordable microphone setups used in podcasting, streaming, gaming, and recording, identifying the source of microphone hum** is essential for clean audio**.
Whether you’re dealing with hum in your budget-friendly USB mic or a more professional XLR setup, these three pathways help you systematically identify which combination affects your specific microphone type and setup.
Once you pinpoint what causes microphone hum in your particular environment, you can implement targeted solutions to eliminate it and achieve professional-quality recordings.
Ground Loops and Power Supply Hum
Meanwhile, your power supply itself may introduce ripple or mains-frequency content into preamp stages, compounding the problem. A noise gate can help suppress residual hum between vocal takes or during silent passages.
Consider these contributors to ground loops and power supply hum****:
- Multiple outlets on different circuits creating ground loop conditions
- USB-connected interfaces completing ground loops in your signal chain
- Inadequate power supply smoothing allowing power supply hum to bleed into audio
- Shared AC circuits with high-current devices amplifying ground loop interference
- Poor transformer shielding inside equipment failing to contain power supply hum
For creators, musicians, and streamers working with budget microphones, diagnosing whether your hum stems from ground loops or power supply issues is the first step toward cleaner recordings.
Addressing both sources systematically—by isolating circuits, upgrading power conditioning, and eliminating redundant ground paths—eliminates most hum and dramatically improves your podcast, gaming, or streaming audio quality.
Why Your Cables and Connections Are Making Noise
Your cables and connections are making noise—and they’re often the weak link in the signal chain, capable of introducing noise that rivals or amplifies the ground-loop hum you’ve already addressed.
Poor cable shielding allows electromagnetic interference to infiltrate your audio path, while compromised connector integrity—loose, dirty, or damaged contacts—creates intermittent noise that worsens when wiggled. Ensure shielding is connected at both ends of mic cables to eliminate signal degradation from ungrounded shield connections.
Understanding why your cables and connections produce unwanted sound is essential for anyone recording podcasts, streaming, or capturing professional-quality audio on a budget.
Cable and connection noise is critical knowledge for anyone producing podcasts, streams, or professional audio affordably.
Unbalanced cables like TS or RCA lack the noise-cancelling benefits inherent to XLR or TRS balanced lines, making them particularly problematic in home studios and streaming setups. Magnetic hum fields couple via magnetic induction through improperly shielded cables, which is why balanced cables with proper shielding offer superior protection.
Long cable runs increase interference vulnerability; shorter paths reduce hum pickup considerably, which is why strategic placement matters for both gaming streamers and musicians recording vocals.
To address noise from your cables and connections, isolate problematic cables through systematic testing.
Inspect connectors routinely for corrosion or debris, and route audio lines away from power sources to maintain clean signal integrity.
For affordable microphone setups, investing in quality balanced cables and connectors pays dividends in reducing noise floors, ensuring your podcast, stream, or recording sounds professional without breaking the budget.
Gain, Microphone Type, and Equipment Noise Floor

Your gain staging directly impacts audible hum. Here’s what’s happening in your signal chain:
- Dynamic microphones capture less environmental hum than sensitive condensers, making them ideal for untreated spaces.
- Condenser self-noise (10–20 dBA) becomes obvious when you push gain high—a critical consideration when evaluating microphone type and noise characteristics.
- Preamp noise floor (–125 to –129 dBu quality gear) amplifies at extreme settings, highlighting why equipment noise floor matters in your setup.
- USB interfaces introduce hum if poorly shielded or powered; budget-friendly options still require proper gain management.
- Optimal mic placement lets you use moderate gain, reducing noise and improving your overall microphone type’s performance.
Set vocal peaks around –18 to –12 dBFS. Lower mic placement closer to your source eliminates the need for excessive gain, cutting both preamp noise and captured hum considerably. Environmental factors like proximity to electrical equipment and poor cable routing can significantly amplify background noise in recordings. Maintaining signal-to-noise ratio above 16:1 ensures acceptable audio quality without audible noise degradation. Ground loops occur when audio equipment connects to multiple ground paths with different electrical potentials, often indicated by a constant low-pitched buzz.
Proper attention to gain, microphone type, and equipment noise floor fundamentals transforms your recording quality without expensive upgrades.
Pinpoint and Remove the Hum: A Systematic Diagnostic
Next, address ground loops by disconnecting your laptop charger; if silence follows, you’ve found your culprit. Separate signal cables from power sources and electromagnetic interference sources like monitors and routers. Using balanced audio connections throughout your signal chain will further help reduce noise interference in your recordings. To confirm you’ve isolated the correct frequency source, use a spectrum analyzer tool to measure the exact hum frequency before applying any removal techniques.
These hum removal techniques demand precision: reseat connectors, swap cables individually, and use spectral analysis to identify and remove hum at the exact frequency. A noise gate can also help suppress unwanted hum between vocal phrases or instrument passages, providing an additional layer of control.
Each step of this systematic diagnostic approach narrows possibilities, bringing you closer to a clean signal.
For creators recording podcasts, gamers streaming gameplay, musicians tracking vocals, and professionals capturing audio, learning to pinpoint and remove the hum is essential—especially when working with affordable microphone setups where hum can be more pronounced.
Master this systematic hum diagnosis process, and you’ll eliminate one of the most common audio issues that plague budget recording chains.








