
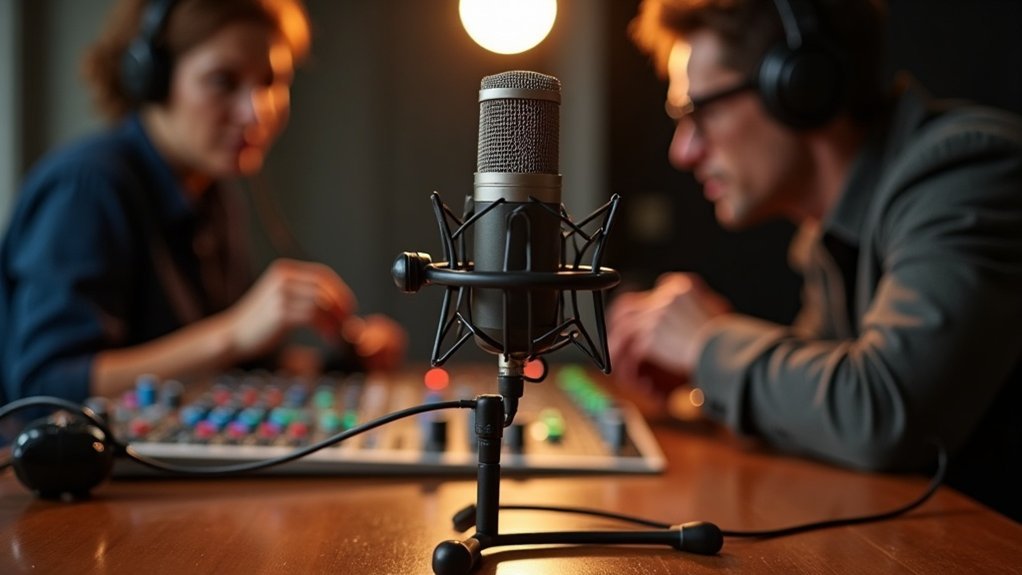
To test a microphone, begin with a visual inspection for any physical damage, such as dents or loose parts. Make sure to check the cable and connectors for any frays. Next, set the microphone as your default input device, adjusting the gain to peak around -12 dB to -6 dB. Conduct basic functional tests by recording silence and monitoring input levels. Additionally, assess performance in various acoustic environments to gauge sound quality. Testing your microphone is essential to ensure it meets your needs for podcasting, streaming, gaming, or recording. There’s more to uncover about optimizing your mic’s capabilities effectively, so dive deeper into how to test a microphone for the best results!
Key Takeaways
- Conduct a visual inspection for physical damage and check cables for frays or bent pins before testing the microphone.
- Connect the microphone to recording software, ensuring it is recognized and set as the default input device.
- Monitor input levels during recordings, aiming for peaks between -12 dB and -6 dB for optimal clarity.
- Record silence to assess background noise and distortion, ensuring the signal is clean and clear.
- Test the microphone in different acoustic environments to evaluate sound quality and identify potential issues.
How to Test Your Microphone for Physical Damage
To effectively test your microphone for physical damage, begin with a comprehensive visual inspection.
Utilize microphone inspection techniques to look for dents, cracks, or loose parts on the body. Pay special attention to the grille, checking for any bent mesh or punctures that could indicate underlying capsule damage. Look for signs of corrosion or rust, particularly near joints. Regular microphone cleaning can help prevent these issues from arising.
Next, focus on the capsule and diaphragm; inspect them for foreign debris or misalignment, as these issues can significantly impact sound quality. Poor frequency pick-up can also result from physical damage, further affecting your microphone’s performance. Additionally, assessing overall condition is crucial to identify any hidden issues that may not be immediately visible.
Focus on the capsule and diaphragm, checking for debris or misalignment that could hinder sound quality.
Furthermore, evaluate cables and connectors for frays or bent pins. Incorporate damage assessment methods, such as functional audio tests, to identify any distortion or irregularities.
This process is essential to ensure your microphone performs at its best, allowing you to create high-quality content for your audience.
Setting Up Your System for Optimal Microphone Performance
Setting up your system for optimal microphone performance requires careful attention to device selection and input routing.
By following these steps, you can ensure your microphone delivers the best results for podcasting, streaming, and recording:
- Set your microphone or audio interface as the default input device in system settings to streamline your setup for optimal microphone performance.
- Adjust input gain to achieve peaks around -12 dB to -6 dB for maximum clarity without distortion, which is crucial for maintaining the integrity of your audio during recordings. Additionally, adjusting the microphone settings can greatly enhance your audio quality. A well-calibrated microphone preamp can significantly improve the signal before it reaches your recording software.
- Disable audio enhancements to maintain a clean, raw signal, allowing you to get the most out of your microphone’s capabilities. Additionally, understanding microphone characteristics can help you choose the right settings for different recording environments.
Perform Basic Functional Tests for Your Microphone
Once you’ve refined your system for microphone performance, it’s time to perform basic functional tests for your microphone to verify that everything operates as expected.
Start with physical checks: inspect for damage, confirm cable integrity, and verify power requirements. Next, connect your mic and check device recognition in your recording software. Dynamic microphones are particularly known for their durability and versatility, making them a great choice for live performance tests.
Start your microphone testing with physical checks: inspect for damage, ensure cable integrity, and confirm power requirements before connecting.
To effectively perform basic functional tests for your microphone, conduct functional checks by recording at a normal distance, monitoring input levels for peak signal clarity. Additionally, make sure to ensure browser permissions are enabled if you’re testing online. Record silence to assess noise and distortion, and evaluate dynamic range with varying loudness. Finally, analyze frequency response using tone generators, comparing against a reference mic to ensure that the balance and performance meet your needs.
These steps are essential for anyone looking to maximize their microphone’s capabilities, whether for podcasting, streaming, gaming, or recording.
How to Easily Test Your Mic Online?

How to Easily Test Your Mic Online? If you’re looking for a quick and effective way to check your microphone’s performance, start with reliable tools that simplify the process.
Here are some steps to help you easily test your mic online:
- Choose a browser-based tool that requires no downloads, ensuring a hassle-free experience.
- Check live waveform feedback to confirm your audio signal is active and functioning properly.
- Record and playback your voice to assess clarity and noise levels, ensuring your mic captures sound as intended. This process also determines supported features based on your microphone setup. Remember that all tests operate on the client side, ensuring user privacy is prioritized during testing. Additionally, you can enhance your recording experience by choosing a USB microphone that provides high-quality audio output.
Make sure your browser permissions are enabled, close any conflicting applications, and select the correct input device.
By following these guidelines, you’ll conduct a thorough audio quality assessment, ensuring your microphone performs at its best for all your podcasting, streaming, gaming, and recording needs.
Testing your mic online has never been easier!
Evaluating Microphone Performance in Different Acoustic Environments
When evaluating microphone performance in different acoustic environments, it’s crucial to recognize the substantial impact of room characteristics on sound quality.
In the context of evaluating microphone performance in various acoustic environments, room acoustics often overshadow microphone types; therefore, understanding reverberation times is essential. Directional advantages become evident in noisy spaces, with directional mics outperforming omnidirectional ones. Testing should include placements inside and beyond critical distance, where sound quality may degrade. Additionally, monitoring ambient noise levels is vital to ensure that effective input noise remains below the environment’s background. The challenges of capturing acoustically clean signals in ensemble settings highlight the importance of thorough testing in diverse conditions. A microphone’s signal-to-noise ratio can significantly influence its effectiveness in picking up desired sounds over background noise. Utilizing the right polar pattern can further enhance noise rejection, making it easier to isolate desired audio.
By carefully analyzing these factors, you can optimize microphone selection and placement, ensuring clarity and intelligibility in recordings across diverse settings.
This thorough evaluation of microphone performance in different acoustic environments will help creators, gamers, musicians, and professionals achieve the best possible sound quality for their projects.








