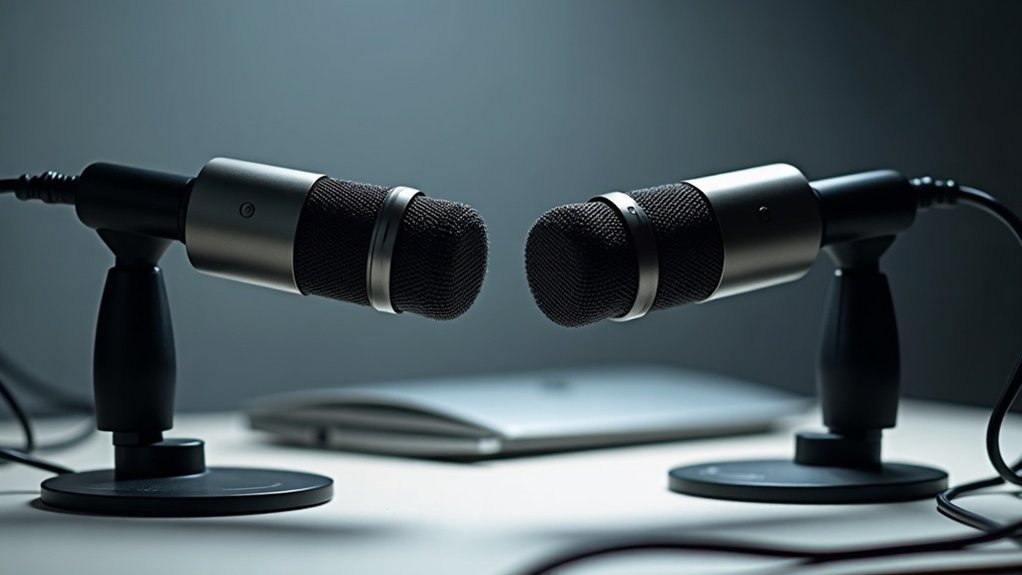
You can absolutely use a microphone without a pop filter if you’re willing to employ proper technique. Position your mic 15–25 cm away at a 45-degree angle to deflect plosive air bursts from consonants like p, b, and t. Elevate it between nose and eye height, and maintain off-axis placement to redirect airflow away from the diaphragm.
While pop filters remain ideal for professional clarity, learning how to use a microphone without a pop filter is essential knowledge for creators, gamers, and musicians working with budget-friendly setups. These strategic adjustments let you capture clean recordings without one, making microphone usage without a pop filter entirely viable for podcasting, streaming, and gaming applications.
Understanding the specifics of mic placement fundamentals reveals even more effective techniques for operating a microphone without a pop filter. Whether you’re recording vocals, dialogue, or acoustic instruments, mastering how to properly position your microphone without a pop filter expands your options and helps you maximize affordable recording equipment. This approach to using microphones without pop filters ensures professional-quality audio regardless of your setup constraints.
Key Takeaways
- Yes, you can record without a pop filter by using proper microphone positioning, angling, and distance techniques to manage plosives effectively.
- Position your microphone 15–25 cm away at a 45-degree angle to deflect breath energy and reduce plosive distortion during recording.
- Elevate the microphone between nose and eye height to redirect airflow away from the diaphragm while maintaining vocal clarity.
- DIY alternatives like sheer fabric, pantyhose, foam, or socks can effectively minimize air bursts when commercial pop filters aren’t available.
- Pop filters aren’t strictly necessary for clean recordings, but they significantly improve audio quality and eliminate costly re-recording in professional productions.
Yes, You Can Record Without a Pop Filter
Though pop filters are widely recommended, the reality is that you can record without a pop filter and still capture usable audio. You’ll find that most microphones produce clean recordings without one when you apply proper technique. The debate about whether you can record without a pop filter centers on your specific setup: microphone type, speaking style, and recording distance all factor into whether you truly need one.
Recording without a pop filter is entirely viable when alternatives exist and work effectively—positioning your mic at 6–8 inches away, angling off-axis, or using improvised barriers can substantially reduce plosive artifacts. Different microphones have varying sensitivity to plosives, so your choice of equipment will influence how much plosive reduction you need to implement through technique alone. A pop filter’s role in professional setups includes creating a physical barrier between your mouth and the microphone diaphragm to minimize unwanted noise. Plosive sounds from consonants like p, t, c, k, b, and j are the primary culprits that pop filters address through their netted or foam design.
Many experienced recordists skip filters entirely, relying instead on controlled mic placement and deliberate vocal delivery to achieve professional results consistently.
For podcasters, streamers, and content creators working with affordable microphones, understanding that you can record without a pop filter opens up budget-friendly possibilities.
Whether you’re gaming, streaming, or recording music, these recording techniques without a pop filter prove that expensive accessories aren’t always necessary. By mastering mic positioning and vocal control, you can produce broadcast-quality audio for your podcast, stream, or music project without investing in additional gear.
Understanding Plosives and Why They Damage Recordings
When you pronounce consonants like p, b, t, d, k, and g, your vocal tract briefly blocks airflow and then releases it in a sudden burst—and that’s a plosive. Understanding plosives and why they damage recordings is essential for anyone investing in affordable microphones for podcasting, streaming, or gaming.
These plosive characteristics create low-frequency energy that overwhelms your microphone’s diaphragm, producing distortion or level spikes. The resulting kaboom or thump masks audio clarity, competing directly with intelligibility. Plosives typically occupy a frequency range from 20Hz to roughly 1kHz, with the most noticeable energy concentrated in the lower frequencies. Applying a high pass filter with a cutoff frequency around 70-100Hz can effectively reduce plosive impact during post-processing.
Plosives create low-frequency energy that overwhelms microphone diaphragms, producing distortion that masks audio clarity and intelligibility.
To understand why plosives damage recordings, recognize that close mic placement amplifies this problem significantly; the air blast reaches your capsule with greater force. You’ll notice the waveform visually differs from surrounding speech—larger and distinctly shaped. This unwanted transient energy demands post-production editing, increasing your workflow time considerably. Plosives are characterized by sudden bursts of air pressure that can severely compromise audio fidelity if not properly managed.
Whether you’re using budget-friendly equipment or professional-grade gear, learning about plosives and how they damage your audio quality is crucial for setup optimization.
Creators, gamers, musicians, and professionals can minimize plosive damage through proper mic technique, pop filters, and microphone positioning—all key factors covered in comprehensive buying guides and setup tips.
Understanding plosives helps you get the most out of your affordable microphone investment and ensure your recordings maintain clarity and professionalism across every stage of your content creation journey.
Five Mic Technique Fixes That Replace a Pop Filter
You can eliminate most plosives by repositioning your microphone off-axis, angling it 15 to 45 degrees away from your mouth so air bursts pass beside rather than into the capsule.
Increasing your mouth-to-mic distance to 6–8 inches or 15–25 cm reduces the direct force of plosive air while controlling proximity effect and low-end muddiness. Experimentation with alternative methods for sound clarity can help you discover which technique works best for your specific recording situation.
Mounting the microphone above eye level and tilting it downward redirects airflow away from the diaphragm, especially when combined with off-axis speaking and proper distance. While windscreens and pop filters serve similar purposes in reducing unwanted noise, proper mic technique can achieve comparable results. Conducting a quick test recording before your full shoot allows you to verify plosive reduction and make final adjustments as needed.
Off-Axis Microphone Placement
Instead of positioning your microphone directly in front of your mouth, off-axis microphone placement—angling the capsule away from the direct line of your lips—can substantially reduce plosives without any physical barrier. You’ll find off-axis microphone positioning benefits extend beyond plosive reduction—they minimize proximity effect’s low-frequency buildup and soften harsh consonants. However, tonal adjustments accompany this technique; you’ll sacrifice some high-frequency detail and potentially pick up more room noise. Strategic angles between 20° and 45° preserve vocal clarity while controlling brightness, making off-axis mic placement an essential technique for streamers, podcasters, and musicians working with affordable microphones on tight budgets. Larger diaphragm microphones experience less off-axis coloration, allowing for more flexible positioning without sacrificing tonal quality.
Heavier off-axis placement risks dullness, requiring you to balance plosive reduction against your desired vocal character. The angle of incidence directly influences how your microphone captures high-frequency presence and transient sharpness, so even small adjustments to your positioning angle can yield noticeable changes in your vocal tone. For creators and gamers optimizing their streaming setup, understanding how off-axis microphone techniques interact with your specific affordable mic is crucial to achieving broadcast-quality recordings without expensive equipment or acoustic treatments.
| Angle | Plosive Reduction | Proximity Effect | Tonal Character | Room Pickup |
|---|---|---|---|---|
| 20° | Moderate | Slight decrease | Smooth, clear | Minimal increase |
| 45° | Significant | Moderate decrease | Warm, controlled | Moderate increase |
| 90° | Maximum | Eliminated | Dark, dull | Substantial increase |
Optimal Distance And Angle
Because distance serves as the primary substitute for a pop filter, understanding the optimal distance and angle** is crucial for professional vocal recording. Position your microphone within the 6 to 12 inch range**—this optimal distance provides a reliable starting point for most vocal work.
Combine this distance with a 45-degree angle offset to deflect breath energy away from your capsule, reducing plosive impact while preserving recording quality.
Finding the right distance and angle relationship takes experimentation. Adjust capsule height to mouth level or slightly below, then make incremental distance changes—moving closer or farther—until plosives diminish without sacrificing clarity. Closer placement also captures less room noise, which further enhances your recording quality. Consistent distance from the mouth ensures reliable comparison between different microphone positions and settings.
Even budget-friendly microphones benefit from proper optimal positioning techniques that don’t require additional hardware investment.
This microphone technique balances proximity effect with plosive control by leveraging optimal distance and angle principles, eliminating hardware dependency while maintaining professional results through precise positioning.
Whether you’re podcasting, streaming, gaming, or recording music, mastering these distance and angle fundamentals transforms affordable microphone setups into studio-quality recording stations.
Off-Axis Mic Placement: A Pop Filter Alternative
You can reduce plosives by angling your microphone away from the direct airflow path of your mouth, which redirects breath energy that’d otherwise strike the capsule head-on.
Position the mic slightly off-center—typically 10–45 degrees—and aim the capsule toward the corner of your mouth rather than your lips to minimize impact from consonants like P and B.
Maintaining a starting distance of 15–25 cm lets you balance plosive control with vocal clarity, though you’ll need to test your specific setup since greater angles and distances can subtly shift tone and introduce room noise. Understanding how microphone placement distance impacts your recording will help you find the optimal angle and distance for your microphone and voice type.
Angling The Microphone Away
For creators and streamers recording podcasts or gaming commentary, this technique proves invaluable—whether you’re using budget-friendly affordable microphones or professional equipment, the principle remains consistent. Microphones with supercardioid and hypercardioid pickup patterns offer even greater rejection of off-axis plosives, providing additional control when combined with angled placement.
Test with hard consonants to confirm your angle suits your specific voice and equipment. By angling away strategically, you’ll dramatically reduce plosive problems without needing expensive pop filters, making this setup tip essential for anyone seeking affordable microphone solutions for streaming and recording.
Positioning Above Mouth Level
Elevating your microphone above mouth level redirects plosive airflow away from the capsule diaphragm, effectively mimicking a pop filter’s function without the hardware investment. This positioning above mouth level strategy preserves sound quality while minimizing plosive artifacts—a critical technique for creators, gamers, musicians, and professionals recording on budget microphones.
Key positioning guidelines:
- Position the capsule between nose and eye height, angling downward toward your mouth.
- Maintain direct capsule alignment with your vocal source despite vertical offset.
- Avoid reflexive head turns toward the mic during speech.
- Monitor tonal shifts—elevated placement typically enhances warmth while preserving clarity.
Why Above Mouth Level Positioning Works
This off-axis technique leverages physics rather than barriers. When you position your microphone above mouth level, you’re controlling how airflow interacts with your diaphragm before plosives cause distortion. Pairing this method with a shock mount can further isolate your microphone from vibrations that might compromise recording quality.
For affordable microphone setups used in podcasting, streaming, and gaming, positioning above mouth level offers professional-grade pop reduction without investing in additional hardware.
You’ll achieve cleaner recordings by understanding how spatial positioning controls air interaction with your diaphragm, keeping your setup streamlined and effective.
Whether you’re using a budget-friendly option or a higher-end model, mastering above mouth level placement ensures your microphone delivers consistent vocal clarity across every recording session.
Maintaining Proper Microphone Distance
Maintaining proper microphone distance works alongside off-axis positioning to reduce plosives without hardware barriers. You’ll find that 6–8 inches offers an ideal balance, preserving vocal clarity while minimizing air blasts. This optimal microphone distance is critical for affordable microphone setups, whether you’re podcasting, streaming, or recording music.
Closer positioning increases proximity effect and bass buildup; farther placement captures more room noise. Proper microphone distance management requires testing across your specific space.
Combine this distance with 15–30° off-axis microphone placement to achieve maximum plosive control—a technique that separates professional results from amateur recordings. While microphone distance and placement minimize plosives naturally, additional processing with de-essers can further refine vocal recordings by controlling sibilance.
Start at your baseline distance, then adjust the angle before extending outward. Test short plosive-heavy phrases to confirm effectiveness. Small shifts in microphone placement noticeably alter tone and room pickup, so recheck your sound after each adjustment to maintain professional results.
For creators and gamers investing in budget microphones, understanding microphone distance fundamentals prevents costly mistakes during setup.
Whether you’re comparing microphones or following streaming setup tips, proper microphone distance management ensures your affordable microphone performs at its peak, delivering broadcast-quality audio without additional hardware investments.
Mic Distance and Angle: DIY Pop Filter Substitutes
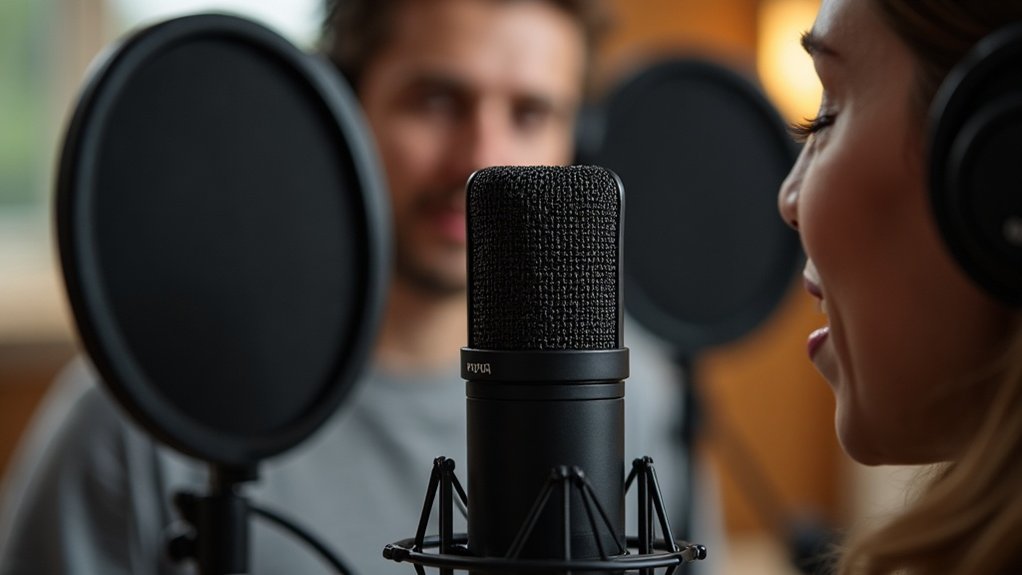
Position your mic 15–30 degrees off-axis or at a 45° side angle to let air blasts bypass the capsule while maintaining sound fidelity.
Getting your mic distance right is crucial—maintain 6–8 inches; closer positioning intensifies proximity effect.
Maintain 6–8 inches mic distance; closer positioning intensifies the proximity effect and affects your sound.
Confirm proper mic angle alignment by angling toward your mouth rather than pointing directly at it.
Understanding how pop filters work helps you replicate their effectiveness through strategic positioning and DIY alternatives.
This fundamental approach to managing mic distance and angle is essential for affordable microphone setups used in podcasting, streaming, gaming, and recording.
DIY pop filter substitutes you can implement:
- Single layer of sheer fabric stretched over wire hangers
- Pantyhose or tights mounted a few inches from capsule
- Foam wedged near microphone to reduce air bursts
- Sock draped over microphone for quick emergency solutions
These DIY pop filter alternatives work best when combined with strategic microphone distance and angle adjustments.
For creators, gamers, musicians, and professionals on a budget, mastering mic distance and positioning through proper angle adjustment eliminates the need for expensive commercial solutions while delivering professional audio quality for your podcasts, streams, games, and recordings.
When Close-Mic Vocals Demand a Pop Filter
Close-mic vocal recording fundamentally shifts the pop-filter equation because your mouth sits directly in the path of plosive air bursts. At standard distances of 4–8 inches, consonants like “p” and “b” strike your condenser microphone’s capsule with concentrated force, creating audible distortion that compromises vocal clarity. The proximity effect intensifies this challenge by magnifying low-end buildup alongside plosive impact.
When close-mic vocals demand a pop filter, you’re addressing one of the most common pain points in affordable home recording setups. Whether you’re podcasting, streaming, or tracking vocals for music production, understanding when close-mic vocals demand a pop filter separates amateur recordings from professional-sounding results. Many budget-conscious creators discover that without proper plosive protection, their investment in even a quality affordable microphone gets undermined by easily preventable distortion. Without a pop filter, muffled microphone sound can result from inadequate plosive control during close-proximity recording sessions.
While off-axis placement at 15–30 degrees offers a no-cost mitigation strategy, it doesn’t eliminate the problem entirely—especially when you’re prioritizing detailed vocal capture for streaming or podcasting. You’ll find that a pop filter becomes nearly essential when close-miking to preserve both protection and presence.
For musicians and professionals recording at intimate mic distances, a dedicated pop filter is often the difference between needing costly re-records and capturing usable takes immediately.
The reality is that close-mic vocals demand a pop filter because proximity recording amplifies every breath and consonant. Whether you’re setting up for gaming commentary, podcast recording, or vocal tracking, this affordable accessory pays for itself through eliminated takes and preserved vocal presence—making it one of the highest-ROI additions to any budget microphone setup.
DIY Pop Filter Alternatives for Emergency Recording
Effectiveness of your DIY pop filter depends on material thickness, placement precision, and distance from the capsule. Pairing your pop filter with shock mounts further isolates your microphone from vibrations and handling noise during recording sessions.
When selecting the right DIY pop filter for your setup, you’re balancing practical constraints against professional standards within your recording environment while maintaining the affordable microphone recording quality your audience expects.
Does Your Setup Actually Need a Pop Filter?
Whether your setup actually needs a pop filter depends entirely on your specific recording circumstances rather than following a universal rule. Your microphone sensitivity, recording environment, vocal technique, and desired sound quality determine necessity.
Condenser mics demand pop filter protection more than dynamic models with built-in pop guards. Close-mic work within inches requires filtering; distant placement beyond two feet typically doesn’t. Your articulation matters—careful off-axis delivery reduces plosives naturally. Professional productions prioritize pop filters for consistency and cleanliness.
If you’re evaluating whether a pop filter is necessary for your setup, consider that many affordable microphones for podcasting and streaming benefit significantly from this simple addition. Popping sounds in recordings often occur when plosives aren’t properly managed, making a pop filter a practical solution for cleaner audio.
Gaming and recording setups handling vocal-heavy content especially gain from pop filter investment. For musicians and professionals working with budget-conscious gear, understanding when you actually need a pop filter prevents unnecessary purchases while ensuring clean audio.
Evaluate your setup honestly: if plosives distort your recordings, you need one. Monitor whether your current technique and distance prevent problems—if they do, you’re fine without it.
However, as you scale from casual recording to professional production, adding a pop filter becomes increasingly valuable for consistency. The question isn’t whether pop filters are universally essential, but whether your specific setup actually needs a pop filter for optimal results.