
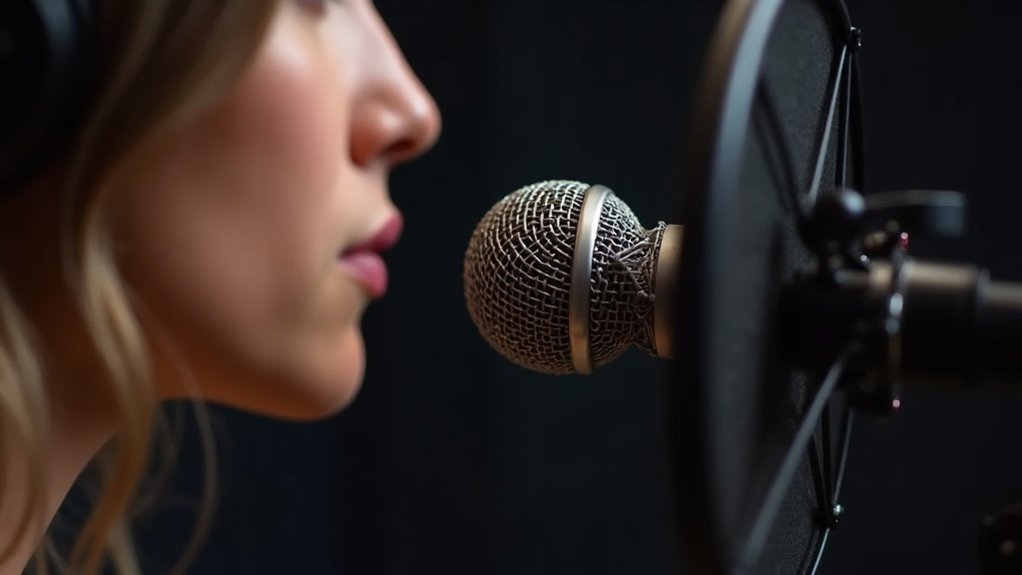
To achieve ideal sound quality, it’s essential to understand how far should a microphone be from your mouth. Position your microphone between 4 to 12 inches from your mouth, depending on the scenario. For online meetings, aim for that 4–12 inch range, while podcasting and streaming generally call for a closer distance of 4–6 inches. When considering how far should a microphone be from your mouth, remember that dynamic mics work best at 2–4 inches, whereas condenser mics should be placed 6–12 inches away. Making these adjustments can help control bass and clarity, ensuring your audio quality is top-notch. Exploring the nuances of microphone placement is crucial for enhancing your audio experience and achieving the best results in your creative projects.
Key Takeaways
- For online meetings, keep the microphone 4–12 inches from your mouth for clarity and comfort.
- Use 4–6 inches for podcasting or streaming to achieve a warm tone.
- Position the microphone 6–8 inches away for optimal sound capture while gaming.
- Dynamic mics work best at 2–4 inches, while condenser mics should be 6–12 inches away.
- Closer placements enhance low frequencies, while moderate distances maintain a balanced sound.
Practical Scenarios and Ideal Microphone Distances
When setting up your microphone for various scenarios, understanding ideal microphone distances can greatly enhance audio quality. This knowledge is especially crucial when you’re focusing on practical scenarios and ideal microphone distances.
For online meetings, aim for a microphone height of 4–12 inches from your mouth, balancing clarity with comfort. In podcasting or streaming, maintaining a distance of 4–6 inches can help achieve a warm tone, while gaming often targets 6–8 inches for optimal sound. For live performances, keeping your mic 6–12 inches away is essential to prevent clipping. Remember, closer mics sound cleaner and can significantly improve audio clarity. Additionally, be aware that a 404-Error page can disrupt your content delivery if not managed properly. Understanding frequency response is also key to ensuring your audio gear captures sound accurately.
As you navigate these practical scenarios and ideal microphone distances, remember that greater distance variations above 12 inches can lead to unwanted room reflections and background noise.
Consistent posture and angling your mic slightly off-axis can further improve your audio experience in any setting, ensuring that you make the most of your microphone setup.
Explore Microphone Types and Recommended Distances
Understanding the various microphone types and their recommended distances is essential for achieving the best audio quality, especially when exploring microphone types and recommended distances. Dynamic microphones typically perform well at 2–4 inches for robust vocal clarity, while condenser mics excel at 6–12 inches due to their high sensitivity. This sensitivity makes condenser microphones ideal for capturing nuanced sound details. For lavalier and headset mics, aim for 6–10 inches and 1–2 inches, respectively, to maintain consistency and reduce ambient noise. USB mics generally thrive at 3–6 inches. Shorter distances enhance feedback reduction in unidirectional patterns, striking a balance between isolation and vocal presence, making the choice of polar pattern crucial for optimal sound capture. Proper microphone placement ensures that sound quality is maximized while minimizing unwanted noise.
Proximity Effects: Striking the Right Balance
Microphone placement is a key factor in shaping the sound quality during recording, especially when considering proximity effects. Achieving the right proximity adjustment is crucial for maintaining tonal balance while capturing your voice.
- The proximity effect boosts low frequencies, enhancing warmth and richness in your recordings.
- Closer placements (1–2 inches) yield pronounced bass, while moderate distances (6–12 inches) create a more controlled sound, ensuring you strike the right balance. As you adjust your distance, remember that the proximity effect is strongest when the microphone is on-axis. Additionally, understanding different polar patterns helps you choose the right microphone for your specific recording environment.
- A cardioid microphone is particularly effective for capturing the desired bass response, making it an excellent choice for those looking to optimize proximity effects. This is because directional microphones are designed to enhance low-frequency response as you get closer to the sound source.
Finding the sweet spot is essential, as too much emphasis on low-end can muddy your audio.
Balancing proximity effects guarantees clarity without sacrificing the richness in your vocal recordings.
Best Practices for Microphone Positioning and Angling
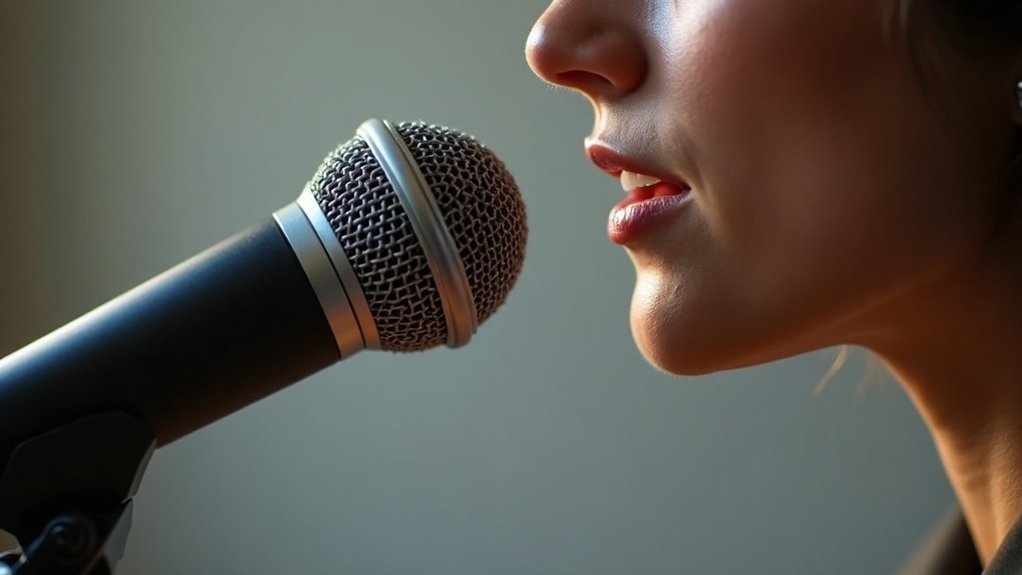
To achieve ideal audio quality, you need to carefully consider both distance and angle when positioning your microphone. Aim for a starting range of 6–12 inches, adjusting based on your microphone type and recording environment. Effective angling, such as positioning 45° off-axis, can enhance clarity while minimizing unwanted noise. Understanding microphone polar patterns can also help you choose the best placement technique for your specific recording situation. Different microphones exhibit unique polar patterns, which affect how sound is captured from various angles. Additionally, maintaining proper mic stability is crucial to avoid inconsistent audio quality.
Optimal Distance Guidelines
Here are some important considerations to keep in mind regarding these optimal distance guidelines:
- Dynamic microphones: 2–6 inches for enhanced sound clarity, especially in live settings where sound quality is crucial.
- Condenser microphones: 4–12 inches, depending on sensitivity and acoustic treatment.
- Ambient noise: Closer placement reduces background interference, improving recording consistency. Maintaining a distance of 6 to 12 inches from the microphone can help achieve a more balanced audio quality. Additionally, microphone type influences the optimal distance, as dynamic mics require closer placement compared to condenser mics.
Effective Angling Techniques
Achieving ideal audio quality hinges on effective angling techniques for microphone positioning. When exploring effective angling techniques, it’s essential to focus on optimal plosive control by positioning the mic slightly off-axis (5–20°) and above your mouth, angling down to maintain vocal clarity.
Utilizing lateral angling helps reduce harsh consonant transients while enhancing tonal balance. Aligning the mic with your mouth axis ensures a consistent frequency response, and adjusting angles can effectively manage the proximity effect.
To maximize the benefits of these effective angling techniques, prioritize directional precision by ensuring your mic’s polar pattern faces away from noise sources. Understanding the differences between supercardioid and hypercardioid mics can also aid in selecting the right microphone for your environment.
Troubleshooting Microphone Distance for Best Sound Quality
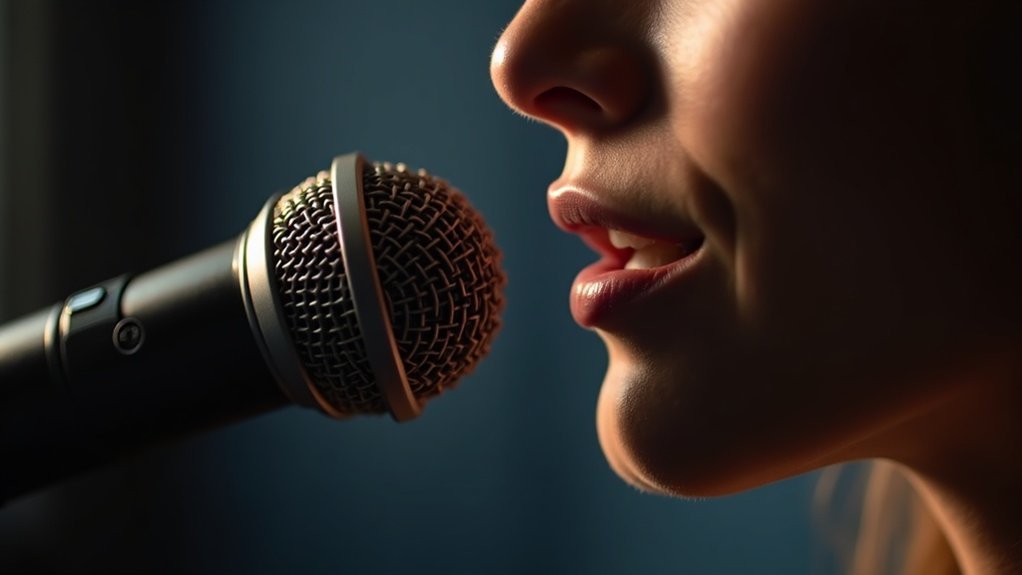
While troubleshooting microphone distance for the best sound quality is essential for achieving clear audio, improper placement can introduce a range of sound quality issues.
You may encounter problems like:
- Excessive plosives from being too close (<6 inches)
- Boomy tones due to proximity effect when too near
- Weak sound if the mic is too far (>12 inches)
To effectively troubleshoot microphone distance for the best sound quality, aim for a distance of 6–12 inches for optimal sound clarity.
Adjusting this range can help reduce plosives, enhance clarity in noisy settings, and maintain consistent loudness. Additionally, understanding plosives and their impact can further improve your recording techniques.
How to Choose the Right Microphone Distance for Your Setup?
To choose the right microphone distance for your setup, consider both the microphone type and your usage context.
Different microphones have ideal ranges that affect clarity and sound quality, while the environment can influence how close you should position the mic.
For instance, cardioid microphones are often preferred in noisy settings because they focus on sound directly in front of them, making distance adjustments crucial for capturing optimal audio.
Adjusting the distance based on these factors guarantees you capture the best sound for your specific needs.
Microphone Type Considerations
Choosing the right microphone distance for your setup hinges on understanding the characteristics of different mic types, which is a crucial aspect of microphone type considerations.
- Dynamic mic placement typically favors 2–6 inches for ideal sound rejection and clarity, making it a solid choice for various applications.
- Condenser mic sensitivity allows for 4–6 inches, enhancing detail while minimizing background noise, which is essential for capturing nuanced audio.
- Polar pattern effects, like cardioid’s improved gain-before-feedback, enable greater distance variations without sacrificing intelligibility, highlighting the importance of microphone type considerations in achieving optimal sound quality.
- Understanding condenser microphone functions can further help in determining the best distance for clear audio capture.
Usage Context Factors
For speech, aim for 4–6 in to balance clarity and comfort. Singing may require 6–12 in to prevent harshness. Consider your voice type and performance style—dynamic performers may shift distance based on loudness.
Employing strategic placement techniques, like the 3:1 rule in multi-mic setups, helps control bleed. By recognizing the impact of usage context factors, you can refine your recording techniques to optimize your audio experience. Additionally, understanding the best suited microphone for your singing voice can further enhance your sound quality.
Ultimately, assessing these environmental influences will guide you in selecting the right microphone setup for podcasting, streaming, gaming, or any other creative endeavor.








