
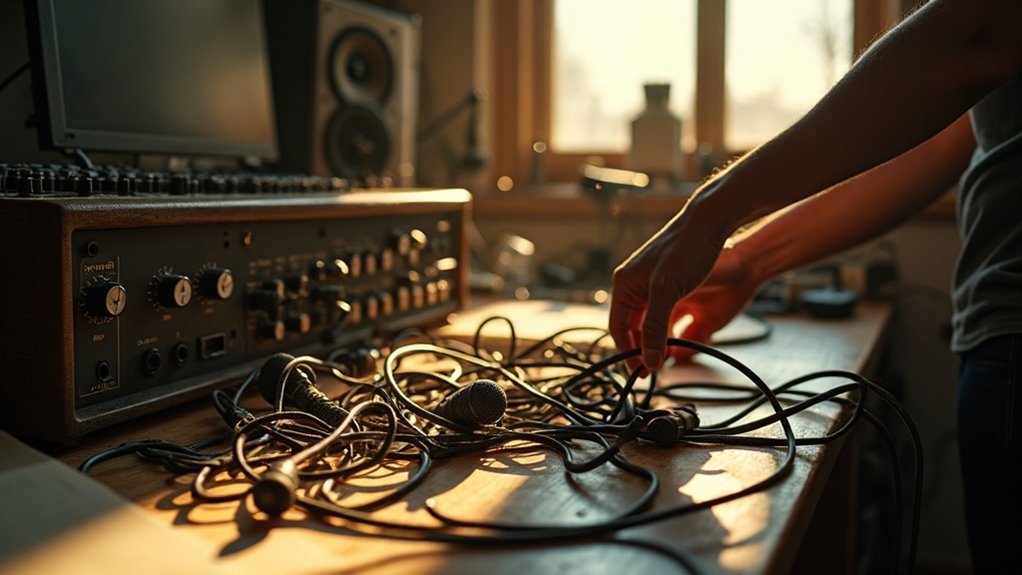
If your microphone sounds bad, it could be due to several factors, including improper mic placement, inadequate gain staging, or poor room acoustics. To address the issue of why your microphone sounds bad, ensure your mic is positioned 6–12 inches from your mouth and check your gain levels to prevent clipping. Reflections in your room can also muddle your sound, so consider implementing acoustic treatment to improve your audio quality. Additionally, regular mic maintenance and a thorough inspection of cables for damage are crucial. If you’re keen to solve the mystery of why your microphone sounds bad, there are plenty of troubleshooting steps you can take to optimize your setup and achieve the best audio experience possible.
Key Takeaways
- Incorrect mic placement can lead to poor clarity; maintain a distance of 6–12 inches and proper orientation to reduce plosives.
- Poor room acoustics can introduce muddiness; use acoustic panels to manage reflections and enhance sound quality.
- Improper gain staging may cause clipping or increased noise; aim for levels between -12 dB and -14 dBFS.
- Regular mic hygiene is essential; contaminants can degrade audio fidelity, so clean and sanitize microphones after each use.
- Check cables and connections for damage; frayed wires or bent pins can lead to low volume or distortion in sound.
How to Avoid Common Mic Placement Mistakes
How can you assure perfect mic placement to avoid common mic placement mistakes? Start by maintaining a mic distance of 6–12 inches to balance vocal clarity and room pickup. Confirm proper mic orientation; aim the capsule slightly off-axis to reduce plosives and harshness. Adjust mic height to align with mouth level for best articulation. Use pop filters positioned 3–4 inches from the capsule to minimize plosives without dulling highs. Be mindful of surface vibrations and avoid physical barriers that can introduce noise. Additionally, understanding microphone placement distance is crucial for achieving optimal recording quality. Finally, consistent capsule alignment is essential to prevent tonal shifts and feedback risks during your performance. Engaging with your audience through community feedback can also help identify issues in sound quality, especially considering the importance of microphone placement.
Why Gain Staging Matters for Your Microphone
While you might focus on mic placement and technique, understanding why gain staging matters for your microphone is equally essential for achieving ideal sound quality. Proper gain structure ensures that your microphone signal stays within its dynamic range, maintaining signal integrity throughout the audio chain. Aim for levels around −12 to −14 dBFS to prevent clipping while keeping the noise floor low. This careful balance preserves audio fidelity, allowing transient peaks without distortion. Additionally, proper gain staging helps ensure optimal performance from plugins and gear, enhancing your overall mix. Setting the gain at an appropriate level is critical for avoiding distortion issues that can mar your recordings.
Insufficient gain leads to increased noise and a lifeless sound, while excessive gain can cause irreversible clipping. By optimizing your gain staging, you set a strong foundation for clear, professional recordings that resonate with your audience, highlighting just how crucial it’s to recognize why gain staging matters for your microphone in any setup. Understanding microphone gain is essential for making informed adjustments in your recording environment.
The Role of Room Acoustics in Your Audio Quality
Poor acoustics can introduce muddiness and harshness, adversely affecting tonal balance and clarity. The size and shape of your room dictate frequency distribution, leading to modal behavior that can exaggerate or weaken specific frequencies. Addressing standing waves is essential for achieving accurate sound quality and can significantly improve your recordings. Implementing acoustic panels can help effectively manage sound reflections and enhance the overall sonic environment.
To achieve optimal audio quality, consider acoustic treatment that minimizes excessive reflections and enhances the direct sound. This ensures your recordings maintain clarity and richness, free from unwanted coloration.
The Importance of Mic Hygiene and Maintenance for Optimal Sound
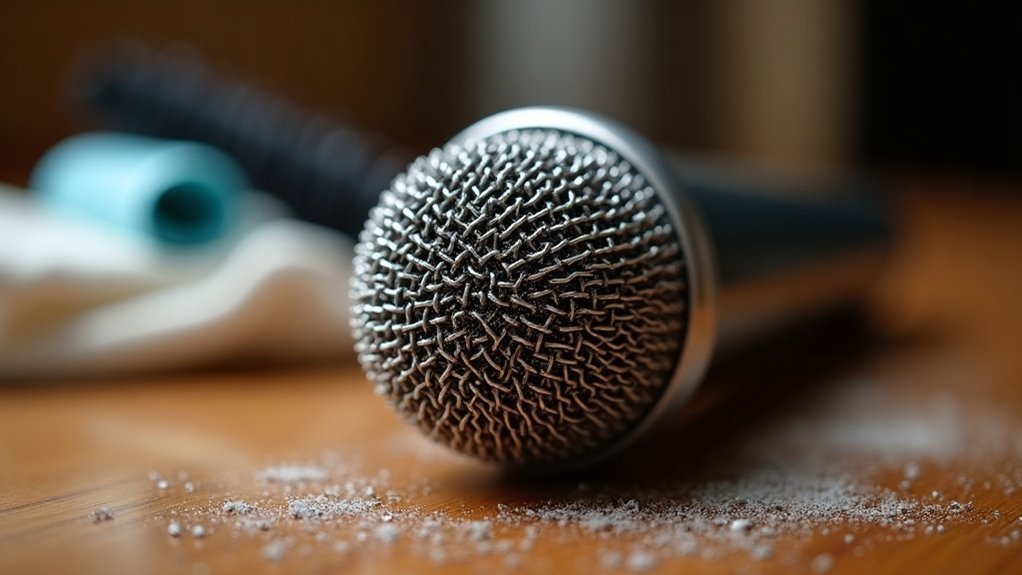
To maintain ideal sound quality, you need to prioritize regular cleaning practices, inspect your microphone for damage, and employ proper storage techniques. Accumulated contaminants can greatly degrade audio fidelity, while damage can compromise performance. Clean microphones prevent unpleasant odors during use and enhance overall performance quality. Regularly cleaning your microphone helps remove essential contaminants that can interfere with sound quality. Using a foam cover can also significantly improve sound quality by reducing unwanted noise and plosives.
Regular Cleaning Practices
Regular cleaning practices are essential for maintaining microphone hygiene and ensuring peak sound quality. By implementing effective cleaning techniques and hygiene protocols, you can prevent dust, saliva, and oils from degrading audio clarity. After each use, especially with shared microphones, follow maintenance tips like washing hands thoroughly and sanitizing the microphone. These regular cleaning practices not only help in preventing buildup that can obstruct the diaphragm but also preserve frequency response and capture detail accurately. Additionally, clean hands are crucial before touching microphones to minimize bacteria transfer. Furthermore, using a pop filter can significantly enhance the clarity of recordings by reducing plosive sounds.
To further enhance hygiene, it is important to protect and clean microphones used by multiple users, as this reduces the risk of contamination. Make sure to allow microphones to air dry post-cleaning to eliminate moisture. By prioritizing these regular cleaning practices, you enhance sound clarity and extend the microphone’s lifespan, ensuring superior performance for every recording or performance.
Whether you’re podcasting, streaming, or recording music, these cleaning practices play a crucial role in maintaining the quality of your affordable microphones, allowing you to get the most out of your gear.
Inspecting for Damage
Inspecting for damage is essential in maintaining your microphone’s sound quality and longevity. Even minor issues can lead to significant audio degradation.
Start with a thorough capsule inspection, checking for wrinkles and contamination. Evaluate the grille condition for any dents or cracks that could misalign components. Conduct a connector evaluation, ensuring that the pins are straight and free from corrosion.
Pay close attention to cable strain by inspecting relief points for fraying. Additionally, perform a diaphragm assessment, looking for signs of moisture, such as discoloration or rust. Background noise can often be attributed to microphone placement and other external factors, so it’s crucial to address these issues during inspections.
Regularly inspecting for damage guarantees peak performance, helping prevent future issues that could compromise clarity and reliability in your audio capture.
Proper Storage Techniques
Proper storage techniques are essential for preserving your microphone’s integrity and sound quality. Maintaining the right conditions is crucial; keep your mic in a cool, dry place with a stable temperature of 15–25°C and relative humidity of 35–60% for optimal moisture control.
Utilizing padded hard-shell cases or sealed containers is recommended to protect against dust and impacts, which are key aspects of effective storage methods. Always store microphones upright to prevent diaphragm sag, and ensure that heavy objects aren’t placed on cases.
After each use, it’s important to air-dry your mic, especially if it has been exposed to sweat. Incorporating silica gel packs can help absorb any residual moisture, further enhancing proper storage techniques. Additionally, understanding the typical lifespan of microphones can guide you in maintaining your equipment effectively.
Regular cleaning and inspection won’t only improve longevity but also performance, ensuring your microphone consistently sounds its best. By following these proper storage techniques, you’ll safeguard your investment and keep your audio quality at its peak.
How to Troubleshoot Cables and Connections for Clear Audio
To achieve clear audio, start by inspecting the cable condition for visible damage and connector integrity.
Next, check the stability of your connections to guarantee each plug is fully seated and free from corrosion or looseness.
Addressing these factors is essential for eliminating noise and maintaining a reliable audio signal. Additionally, ensure that the signal is at the correct mic level or line level to prevent distortion and ensure optimal sound quality.
Inspect Cable Condition
Three essential steps guarantee your microphone cables and connections deliver clear audio, particularly when you inspect cable condition. Start with a thorough cable inspection; check for cuts, kinks, or frayed wires that indicate damage. Next, assess connectors for bent pins and corrosion. A multimeter is invaluable for continuity testing—confirm that each pin demonstrates a continuous path. Regularly monitoring your cables can prevent low microphone volume issues that arise from connectivity problems.
| Inspection Type | Key Indicators | Action Required |
|---|---|---|
| Cable Jacket | Cuts, kinks, melted spots | Replace cable |
| Connectors | Bent pins, cracks | Repair or replace |
| Metal Contacts | Corrosion, oxidation | Clean or replace |
| Geometry | Sharp twists, inconsistent thickness | Inspect for internal damage |
| Continuity Testing | Open circuits, shorts | Repair connections |
Check Connection Stability
After confirming your cables are in good condition, it’s time to check connection stability. Proper connector seating is vital for signal integrity. Use these troubleshooting techniques to ensure your connections are stable and reliable:
- Verify XLR connectors engage fully until the latch clicks for optimal connection stability.
- Ensure USB plugs are inserted firmly; any wobble can lead to audio distortion.
- Check that 3.5 mm jacks are plugged into the correct combo/mic input for maximum performance.
Gently wiggle each connector while monitoring for any audio dropouts. Input verification is essential—test different ports or devices to isolate connection issues. Additionally, a well-functioning audio interface can significantly improve your recording quality by providing better signal processing.
Maintaining cable integrity and confirming the correct setup will significantly enhance your microphone’s performance and clarity, leading to a more enjoyable experience for creators, gamers, musicians, and professionals alike.
Choosing the Right Software Settings for Your Mic
Choosing the right software settings for your microphone is essential for achieving the best audio quality, especially when you’re aiming for clear and professional recordings. When selecting the right software settings for your mic, start by designating your external microphone as the default device in your system settings. Ensure that your input configurations are correct, and maintain volume levels between 90-95% for optimal performance. Use the guidelines below to help you adjust your microphone settings effectively:
| Setting | Recommendation |
|---|---|
| Input Format | 24-bit, 48 kHz |
| Gain Staging | Peak between -12 dB and -6 dB |
| Enhancement Settings | Disable all enhancements |
Regularly checking for driver updates is also crucial to maintain software compatibility and prevent any noise issues that could affect your recordings. By carefully considering the right software settings for your microphone, you can significantly improve your audio quality, whether you’re podcasting, streaming, or recording music. Understanding signal to noise ratio is key to ensuring that your recordings are free from unwanted background noise.
How Can Environmental Noise Distort Your Recording?
Environmental noise can markedly distort your recordings, making it challenging to isolate the desired audio signal. When considering how environmental noise distorts your recording, factors like ambient noise and room acoustics significantly impact speech intelligibility, ultimately lowering recording clarity.
Here are some key considerations to keep in mind:
- Microphone sensitivity: Highly sensitive microphones tend to capture ambient sounds, complicating efforts to reduce noise. This can severely affect the clarity of your recordings.
- Acoustic treatment: Utilizing soft materials can improve sound isolation and reduce unwanted reflections, which is crucial in minimizing how environmental noise distorts your recording.
- Recording techniques: Employing directional microphones helps prioritize the desired sound, enhancing speech recognition and mitigating the influence of background noise.
Additionally, selecting a microphone that is designed specifically for noisy environments can further enhance your recording quality.








