
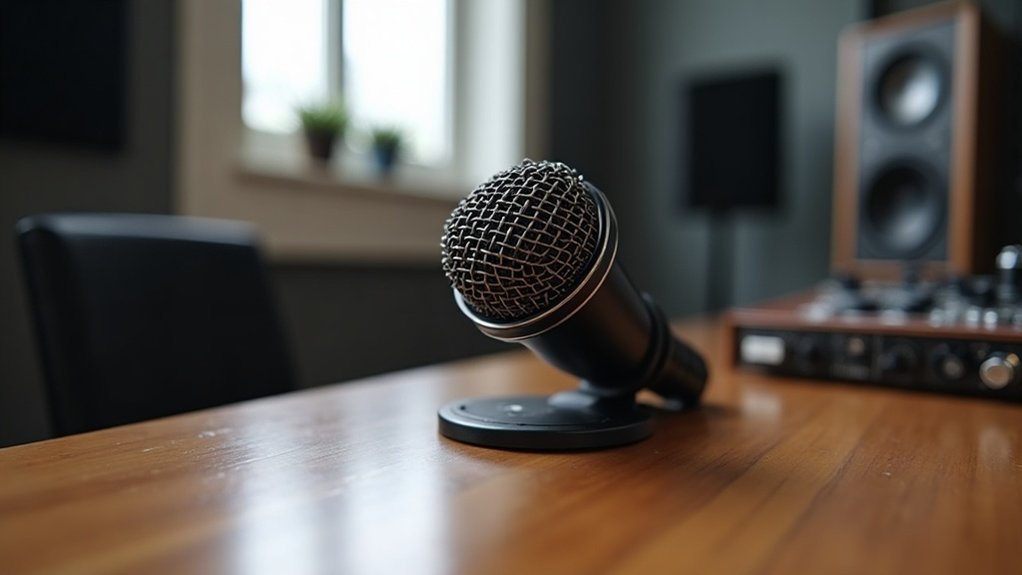
If your microphone is too quiet, it could be due to low input gain settings or incorrect audio interface selection. To address the issue of why your microphone is so quiet, check app-specific settings, as they might override system levels. Confirm that you’re using the correct microphone type; dynamic mics, for instance, require more gain to operate effectively. Additionally, consider your mic positioning and any environmental factors that may be affecting sound quality. Loose cables or outdated drivers can also contribute to this problem. Keep exploring solutions to enhance your audio performance and ensure your microphone is delivering the sound quality you need for podcasting, streaming, gaming, or recording.
Key Takeaways
- Low OS input gain settings can reduce microphone sensitivity, resulting in quieter audio capture.
- Incorrect audio interface selection or app-specific overrides may lead to diminished microphone volume.
- Dynamic microphones typically require more gain; ensure the right type is selected in system settings.
- Improper microphone placement and obstructions can negatively impact audio quality and volume.
- Regular maintenance and checking for damaged cables can prevent signal strength issues.
Identify the Main Causes of Low Microphone Volume
When you’re struggling with low microphone volume, it often stems from several key factors that can greatly impact audio quality. One of the main causes of low microphone volume is the OS input gain; if it’s set too low, it can significantly hinder microphone sensitivity. Additionally, ensure that the correct audio interface is selected; using a built-in mic instead of a USB mic can often lead to quieter capture, contributing to low microphone volume issues. Moreover, app-specific settings might override system levels, further limiting gain and exacerbating the problem of low microphone volume. It’s also essential to consider your microphone type—dynamic mics, for instance, may require more gain from an interface to function effectively. Understanding the role of gain in a signal chain can also help you optimize your setup. Proper placement and avoiding obstructions can enhance performance, allowing your voice to shine through clearly and ensuring that low microphone volume doesn’t detract from the overall experience. By addressing these main causes of low microphone volume, you can significantly improve your audio quality, making it more enjoyable for everyone involved, especially since bad positioning can lead to significant volume drops.
How to Fix Low Microphone Volume?
Fixing low microphone volume requires a systematic approach to identify and address the underlying issues associated with achieving optimal audio levels. Start by updating or reinstalling audio drivers via Device Manager, as outdated drivers can significantly impact mic performance. Confirm your operating system settings to ensure you have selected the correct microphone type. Additionally, enabling microphone boost in the Levels tab can provide the extra gain needed to enhance sound quality, as microphone gain plays a crucial role in determining the audio input level. To ensure your microphone is functioning correctly, accessing sound settings is essential to verify that the right device is selected. Common microphone issues such as low volume or no sound can often be resolved through these troubleshooting steps.
Here’s a quick reference table to assist you in fixing low microphone volume:
| Action | Description | Outcome |
|---|---|---|
| Update Drivers | Use Device Manager | Fix corrupted drivers |
| Set Default Device | Windows sound settings | Prevents mic downgrades |
| Enable Microphone Boost | Adjust Levels tab | Increases volume |
| Check App Permissions | Confirm access in settings | Avoids app overrides |
| Adjust Physical Controls | Use gain knobs on devices | Achieve desired recording levels |
Check Your Input Gain
Check Your Input Gain****
While you may have adjusted your microphone settings, checking your input gain is essential for achieving ideal audio quality. Input gain controls your microphone’s sensitivity, amplifying the signal before processing. If it’s too low, your voice may sound quiet, even up close.
To optimize your sound, remember that input gain adjustments can make a significant difference. Aim for average peaks around -12 dBFS without clipping, ensuring your recordings maintain clarity. Monitoring your input levels with an LED indicator helps you achieve the right gain settings. Proper gain settings enhance sound quality without compromising integrity, allowing for a clearer and more present audio experience.
Monitor your input meters while speaking at varying volumes to guarantee a healthy signal. Adjust settings in your device’s sound options, and always make small adjustments, testing as you go to avoid distortion.
Why Microphone Positioning Matters
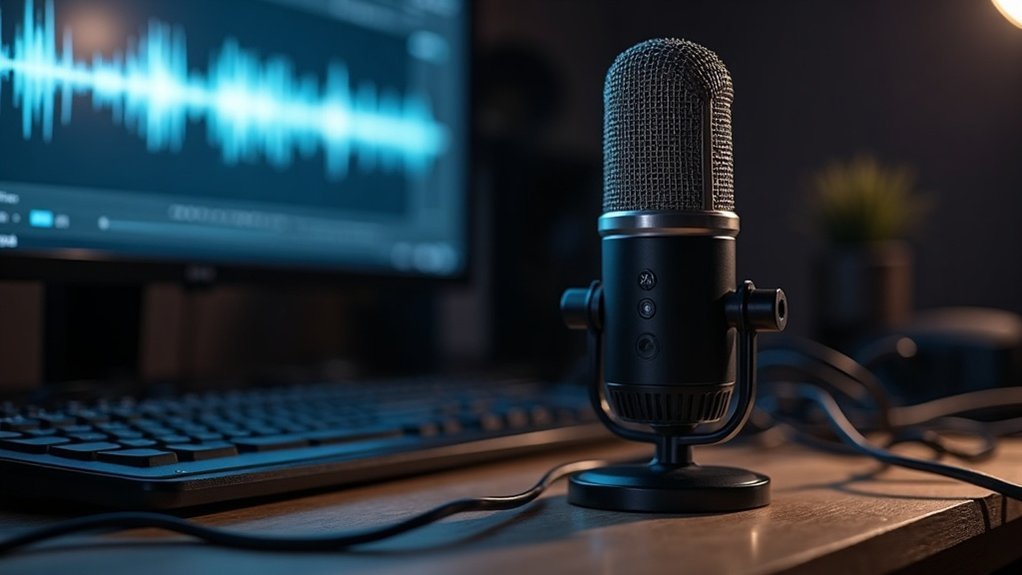
Microphone positioning plays a critical role in achieving ideal audio quality, impacting loudness, clarity, and perceived noise levels.
When considering why microphone positioning matters, it’s essential to maintain the right microphone distance—typically 6–12 inches—which enhances sound clarity while minimizing room reverb. The orientation of the capsule also has its significance; angling the mic slightly downward towards your mouth improves vocal intelligibility and reduces plosive sounds. Proper mic placement optimizes the signal to noise ratio, ensuring that the desired audio stands out against background noise. Additionally, understanding different microphone types can help tailor your placement strategy for varying sound sources. Proper placement can also help prevent room reverb, which can compromise audio fidelity.
Be cautious of the proximity effect, as getting the mic too close can exaggerate low frequencies. Proper angle adjustment is key to capturing high frequencies effectively, preserving detail.
Troubleshooting Hardware and Connection Issues
When your microphone sounds quiet, start by checking for loose or damaged cables that can impede signal strength. Confirm your power supply is sufficient, especially for condenser mics requiring phantom power. Addressing these hardware and connection issues is essential to restoring peak performance. Regular inspections for physical obstructions can also help ensure your microphone functions optimally. Additionally, consider microphone volume adjustment to ensure the input levels are set correctly. A preamp plays a crucial role in boosting the signal from your microphone, enhancing signal strength before it reaches your recording device.
Loose or Damaged Cables
Check for partially seated connectors; a weak connection can lead to muffled audio. Inspect your cables for fraying or kinks, as physical damage often interrupts the signal.
Regular cable maintenance, including connector cleaning, can help prevent issues related to loose or damaged cables. Try reseating your connections or swapping cables to diagnose the problem effectively.
Testing with known-good equipment can quickly reveal if the fault lies with your loose or damaged cables or your device. Addressing these concerns guarantees a clearer sound and enhances your overall audio experience, making it crucial for creators, gamers, and musicians who rely on consistent audio quality. Additionally, crackling microphone issues during recording can be exacerbated by poor cable management, so ensure everything is securely connected.
Insufficient Power Supply
Furthermore, USB limitations can exacerbate these issues; underpowered ports may struggle to deliver enough current, negatively impacting performance. In cases where plug-in power is inadequate for professional mics, you may encounter weak signals.
Additionally, battery issues in wireless systems can further compromise your output. To ensure optimal performance and avoid those frustratingly quiet moments during recording or broadcasting, it’s crucial to verify that your gear is adequately powered.
Notably, condenser microphones typically require phantom power to operate effectively, making it essential to check your power supply.
Addressing an insufficient power supply is essential for creators, gamers, musicians, and professionals alike who depend on quality audio.
Resolve Driver and Software Conflicts
Resolving driver and software conflicts is essential for ensuring ideal microphone performance, especially since outdated or incompatible audio drivers often lead to low input levels. Addressing these driver and software conflicts can significantly enhance your audio experience, whether you’re podcasting, streaming, or recording. To fix these issues, consider checking for driver updates or uninstalling problematic software. Here’s a quick reference:
| Action | Description |
|---|---|
| Update Driver | Refresh audio drivers via Device Manager to resolve conflicts. |
| Uninstall Device | Remove old drivers for reinstallation to eliminate issues. |
| Safe Mode Testing | Identify background software causing driver conflicts and software issues. |
| Disable Non-Essential Tools | Uninstall or disable audio tools to restore optimal microphone levels. |
Regular software updates are crucial for resolving driver and software conflicts, helping to eliminate incompatibilities and restore peak microphone performance. This proactive approach ensures that creators, gamers, and musicians can maximize their audio quality without interruptions. Additionally, understanding how an audio interface functions can further improve your recording setup.
Best Microphones for Recording Scenarios
When selecting a microphone, understanding the distinctions between dynamic, condenser, and USB options is vital. Dynamic microphones excel in high-SPL environments, making them ideal for live performances, while condenser microphones capture finer details, perfect for studio settings. USB microphones have gained popularity for their convenience and ease of use, catering to content creators and streamers alike. Additionally, dynamic microphones are often preferred for live settings due to their durability and feedback rejection capabilities.
Dynamic Microphones Overview
Dynamic microphones are essential tools in various recording scenarios, known for their robust design and reliable performance.
These dynamic microphones are characterized by a passive electrodynamic transducer that captures sound through electromagnetic induction. With lower sensitivity, they effectively reject ambient noise, making them ideal for loud environments like live performances or studio settings. The advantages of dynamic microphones also include durability, allowing them to handle high sound pressure levels without distortion, and cardioid polar patterns that focus on sound from the front while minimizing bleed from the sides.
Additionally, dynamic microphones don’t require external power to function, making them convenient for a variety of applications.
Whether you’re recording vocals, instruments, or podcasts, dynamic microphones guarantee clarity and precision in your recordings, making them a top choice for creators, gamers, and musicians alike.
Condenser Microphones Benefits
While dynamic microphones excel in high-pressure environments, condenser microphones benefits truly shine in scenarios demanding high sensitivity and detail. Their advantages include superior sound quality, making them the go-to choice for studio recording.
| Feature | Benefit | Application |
|---|---|---|
| High Sensitivity | Captures quiet sources | Vocals, acoustic instruments |
| Wide Frequency Range | Natural tonal balance | Critical music production |
| Low Self-Noise | Clean recordings | Voice-over, film, and game audio |
| Fast Transient Response | Accurate representation | Percussion, dynamic performances |
The benefits of condenser microphones extend beyond just sound quality; they are essential for creators, musicians, and professionals aiming for professional results in their recordings. When considering options for podcasting, streaming, or gaming, understanding the benefits of condenser microphones can significantly enhance your audio experience.
USB Microphones Popularity
The rise of digital content creation has significantly influenced the popularity of USB microphones. As the creator economy expands, trends in USB microphones reflect a notable increase in user adoption.
Models like the Blue Yeti and HyperX QuadCast have become staples in the market, largely due to their plug-and-play convenience. These USB microphones are particularly well-suited for podcasting, streaming, and online education, providing integrated audio interfaces that simplify setups and make high-quality audio accessible to all.
Their versatility across various platforms enhances usability, making these microphones essential tools for both casual creators and professionals. Additionally, USB microphones offer a user-friendly option for those new to recording, eliminating the need for complex setups.
As a result, USB microphones have emerged as the go-to solution for anyone eager to elevate their audio quality. With minimal cabling and robust features, the popularity of USB microphones continues to soar, showcasing their pivotal role in the evolving landscape of digital content creation.
Tips for Optimizing Your Recording Environment

Selecting the right recording environment is essential for optimizing your recording environment and achieving high-quality audio, as even minor distractions can greatly impact your sound.
Focus on room acoustics by choosing smaller, irregularly shaped spaces that enhance reflection management and noise reduction. Position your microphone at least 3 feet from walls to improve microphone isolation and reduce bass buildup.
Incorporate sound absorption techniques using soft furnishings and acoustic panels to minimize echo. Always conduct test recordings to identify issues in your recording setup.
Schedule sessions during quiet periods, and guarantee environmental control by turning off noisy appliances, closing windows, and using directional microphones to capture clear, focused sound in your optimized recording environment.








