
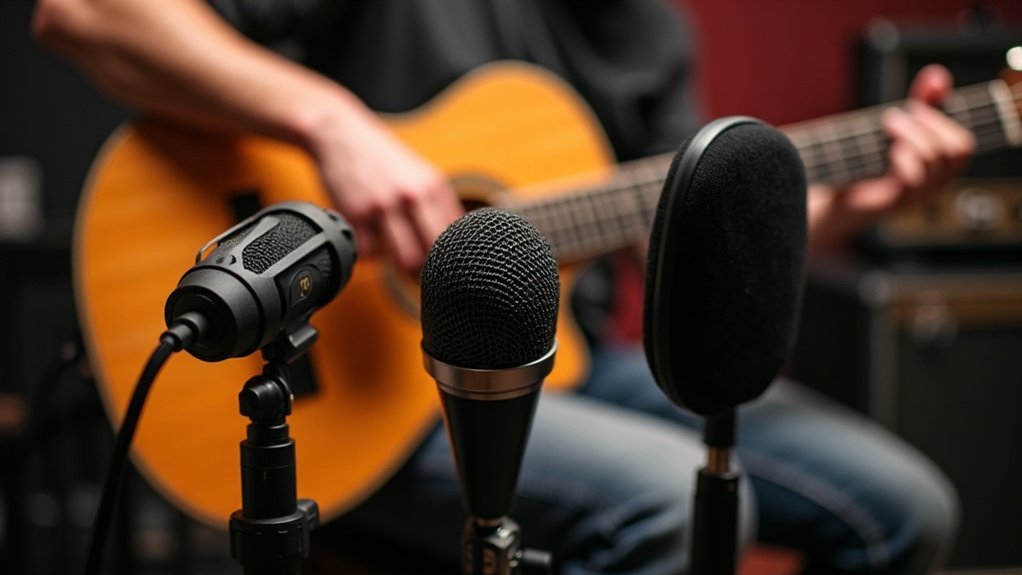
When selecting which microphone is good for recording instruments, you’ll want to match your microphone type to your instrument’s characteristics. Dynamic mics handle loud sources like drums without distortion, making them a solid answer to “which microphone is good for recording instruments” in high-volume situations. Condenser mics capture acoustic guitar and piano nuance with exceptional detail, proving invaluable when determining which microphone is good for recording instruments that require sensitivity and clarity.
Ribbon mics deliver warm, vintage tones for brass and strings, offering another excellent option in your search for the right instrument recording microphone. Your choice depends on sound pressure levels, room acoustics, and budget—typically $100–$200 offers ideal cost efficiency for quality instrument recording microphones. Proper placement and polar pattern selection further refine your recordings, and there’s considerable depth to explore in instrument-specific techniques. Whether you’re recording acoustic instruments or electric sources, understanding which microphone is good for recording instruments ensures professional results without breaking the bank.
Key Takeaways
- Dynamic microphones excel at capturing drums and amplified instruments without distortion due to their durability and high SPL handling capability.
- Condenser microphones are ideal for acoustic instruments like guitars and pianos, capturing detailed nuance and tonal characteristics in controlled environments.
- Cardioid and supercardioid polar patterns provide directional isolation, effectively rejecting ambient noise and focusing on intended instrument sources.
- Microphone placement proximity significantly affects frequency response and perceived warmth, requiring careful positioning to achieve optimal sound capture per instrument.
- Budget-friendly options like Shure SM57 and Audio-Technica AT2020 offer professional-grade performance for home recording without requiring substantial financial investment.
Pick the Right Microphone Type for Your Instrument
When you’re ready to pick the right microphone type for your instrument, understanding the four primary microphone types that dominate instrument recording becomes essential. Each type suits different sonic priorities and recording environments, making your microphone type selection critical to success.
Dynamic microphones excel with amplified sources and high-pressure drums, offering robustness in untreated spaces—a key consideration when you pick the right microphone type for louder instruments.
Dynamic microphones offer robust performance with amplified sources and high-pressure drums, making them ideal for untreated recording spaces.
Condenser microphones capture acoustic instruments‘ nuance and detail through superior sensitivity, making them ideal when selecting the right microphone type for delicate tonal work. The KSM137 represents a professional-level condenser option that excels specifically for brass, woodwinds, and choirs.
Ribbon microphones deliver warm, vintage character ideal for brass and strings, avoiding harshness and representing an excellent microphone type choice for vintage-focused recordings. The cardioid pattern in ribbon designs helps isolate close sources effectively from surrounding ambient noise.
Piezoelectric pickups isolate vibrations directly from instruments like classical guitars and violins, rejecting ambient noise effectively and serving as a specialized microphone type option.
Your choice of microphone type depends on instrument acoustics, volume level, and environment. For vocalists, selecting the right microphone type is equally important as instrument-specific microphone selection for singing requires consideration of frequency response and proximity effect characteristics.
Pair your microphone type selection with appropriate polar patterns—cardioid for balanced capture, supercardioid for isolation—to optimize your recording outcomes.
Whether you’re a musician exploring affordable microphone options or a professional engineer refining your setup, picking the right microphone type for your specific instrument transforms your recording quality and ensures you get the most from your gear investment.
Decide Between a Home and Professional Recording Setup
When faced with the decision to decide between a home and professional recording setup**, your choice depends on three critical factors: budget constraints, acoustic treatment capabilities, and recording workflow demands**.
Home Studio Recording Setups
Home recording environments prioritize microphone versatility through single reliable mics that handle multiple instruments.
However, uncontrolled acoustics in home setups limit overall sound quality.
For those just starting their journey, choosing between home and professional recording setups often means beginning with value-focused choices like the SM57, which delivers affordable performance across vocals, drums, and guitars without requiring significant investment. The Shure SM57 is widely used by professional engineers and remains an essential part of many recording arsenals. Entry-level condenser microphones like the Audio-Technica AT2020 offer home recordists an affordable alternative that captures detail and clarity across acoustic instruments. Dynamic microphones are particularly effective for capturing instruments with high sound pressure levels in untreated home environments.
Professional Studio Recording Setups
Professional studios justify higher gear selection investments by offering superior acoustic treatment, flexible session scheduling, and instrument compatibility across specialized microphones.
These environments provide the refined sonic control and source-specific capture capabilities that home recording struggles to achieve.
Making Your Setup Decision
Deciding between home and professional recording setups requires honest assessment of your needs.
Beginners typically start at home with budget-conscious gear selections, then expand into professional environments as demands for source-specific capture and premium audio quality increase.
Understanding whether you need a home recording solution or professional studio access helps guide your microphone investments and long-term recording strategy.
The best approach: start affordable at home, evaluate your actual needs, then transition to professional resources when your recording ambitions demand it.
Match Sound Pressure Levels to Your Gear
Conversely, loud sources—brass instruments producing 120+ dB SPL—demand lower-sensitivity models to prevent clipping. Review your microphone’s cartridge thermal noise rating to confirm the minimum detectable sound pressure aligns with your quietest sources. Understanding microphone sensitivity ratings helps you choose the right tool for each instrument in your toolkit.
Matching SPL ratings to your equipment guarantees your mic-level signal reaches line level without excessive amplification or overload. Proper gain staging is essential when you match your gear’s sound pressure level specifications with your recording sources. Professional audio gear typically operates at +4dBu standard, which ensures compatibility across your entire signal chain.
Understanding SPL considerations and preamp selection lets you optimize dynamic range while maintaining signal integrity throughout your recording techniques and distortion management workflow.
By taking time to match sound pressure levels across your entire signal chain, you’ll achieve professional results whether you’re recording podcasts, streaming gameplay, capturing live music, or producing professional audio content.
This foundational approach to matching acoustic levels to microphone capabilities ensures clean, distortion-free recordings at every stage of your production setup.
Choose Your Microphone by Instrument Category
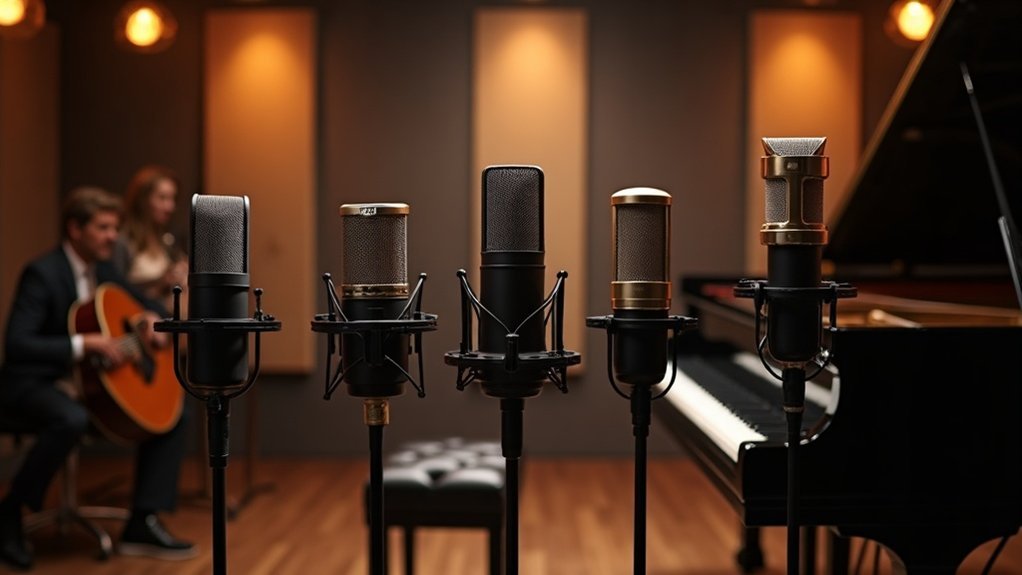
Different instruments demand different microphone characteristics based on their acoustic properties and frequency ranges. When you choose your microphone by instrument category, you’re making a strategic decision that directly impacts your recording quality.
For acoustic guitars, pianos, and strings, you’ll capture acoustic nuances best with condensers, which excel at reproducing harmonic detail. These microphones are ideal when selecting a microphone for these instruments due to their sensitivity to subtle overtones. Microphone placement significantly influences how well you capture the resonant qualities of these instruments. Condenser microphones typically offer a flat frequency response that ensures accurate representation of natural, balanced sound across the full tonal spectrum.
For drums and amplifiers, you’ll prefer dynamic mics that handle high sound pressure levels and isolate source sounds effectively. When choosing microphones for these high-impact sources, dynamics provide superior control in untreated spaces. The distinction between condenser vs. dynamic microphones becomes especially clear when recording instruments with extreme volume and transient response.
Percussion demands a hybrid approach: condensers excel for overhead capture to preserve the full tonal spectrum, while dynamics work better on kick and snare to isolate individual elements. Your microphone selection for percussion should balance these considerations.
Brass instruments require cardioid patterns to control proximity and feedback, making them another category where microphone choice by instrument type matters significantly. Understanding how to choose your microphone for brass ensures you capture presence without harshness.
Your choice ultimately hinges on matching mic type to dynamic ranges. Condensers reveal complexity and detail across most instruments, while dynamics provide control and isolation.
This instrument-by-instrument approach to choosing microphones ensures you invest in tools optimized for your specific recording needs.
Use Polar Patterns to Control Feedback and Noise
You’ll find that cardioid patterns give you solid isolation for most recording scenarios by rejecting rear sound while maintaining natural pickup from your instrument’s front.
When you’re working in louder environments or need tighter control, supercardioid patterns offer stronger directional rejection and higher gain before feedback, though they introduce side sensitivity that requires careful mic placement. Understanding what a polar pattern is helps you recognize how these directional characteristics affect your recording choices.
Your polar pattern selection fundamentally shapes how much direct versus ambient sound you capture, so you’ll choose based on whether your priority is source focus, room tone, or feedback prevention. Figure-8 patterns, which are sensitive at both front and back while rejecting side sounds, work well for capturing two instruments facing each other but require attention to wind noise management. The acceptance angle specification helps you determine the exact placement boundaries where sensitivity remains within acceptable levels for your recording setup.
Cardioid Pattern Isolation Benefits
Cardioid microphones dominate instrument recording because they’re engineered to reject sound arriving from the sides and rear while prioritizing on-axis pickup from the front. Understanding cardioid pattern isolation benefits is essential for affordable microphone users seeking professional results without premium equipment investment.
You’ll leverage cardioid advantages through superior sound isolation, capturing direct instrument tone while attenuating room reflections and ambient noise. The rear null—approximately 180 degrees from the capsule—minimizes feedback risk during live monitoring and hybrid sessions. Polar patterns define how different microphone types respond to sound from various directions, making them crucial for selecting the right mic for your recording environment.
These cardioid pattern isolation benefits directly translate to cleaner recordings in untreated spaces, making budget-friendly mics capable of studio-quality separation. By positioning the mic directly in front of your instrument, you maximize rejection of off-axis sources.
This directional specificity—the core of effective cardioid pattern isolation—lets you achieve cleaner separation when recording multiple instruments simultaneously in less-than-ideal acoustic conditions. For creators, gamers, and musicians working with affordable microphones, mastering cardioid pattern isolation benefits eliminates the need for expensive room treatment or multiple takes.
The practical advantage of cardioid pattern isolation benefits extends across every recording scenario: podcasting in home offices, streaming from bedroom setups, gaming with background noise, or tracking instruments in untreated rooms.
Supercardioide Rejection Techniques
You’ll achieve maximum rejection by positioning monitors at approximately 125° off-axis—not directly behind the element. This rear lobe management technique prevents feedback when sources sit behind your mic.
Understanding proper supercardioide rejection methods means recognizing that these patterns naturally excel at isolating your intended source while minimizing unwanted ambient noise and bleed from adjacent instruments. Hypercardioid microphones offer even tighter rejection patterns but introduce larger rear lobes, making the choice between supercardioid and hypercardioid designs dependent on your specific acoustic environment.
Supercardioide rejection techniques** thrive on understanding null-point placement; you’re gaining substantial side rejection that isolates your intended instrument from adjacent sources and ambient noise. The key to successful implementation lies in strategic monitor positioning** that takes advantage of the pattern’s natural rejection zones while compensating for the rear lobe.
Testing your specific stage setup before performance confirms actual rejection angles, ensuring you’re leveraging the supercardioide rejection advantages effectively.
Whether you’re recording affordable microphones in a project studio or managing multiple instruments on stage, these directional rejection strategies prevent phase issues and feedback problems that compromise audio clarity. Proper supercardioide rejection application transforms what could be a liability into a powerful isolation tool for creators, musicians, and professionals seeking clean, focused recordings without expensive acoustic treatment.
Polar Pattern Selection Guide
You’ll find cardioid patterns work excellently for most studio applications, offering broad frontal response with rear rejection. When learning about polar pattern selection, cardioid remains the industry standard for creators and musicians seeking versatility.
Supercardioid variants provide superior isolation when dealing with monitor bleed and lateral noise, though they demand precise microphone placement—a critical consideration in polar pattern selection guides for streaming and podcasting setups.
Your polar pattern applications depend entirely on the acoustic space: treated studios benefit from condensers’ detail, while untreated rooms demand dynamic mics with tighter rejection.
How polar patterns work by visualizing the directional sensitivity zones around a microphone helps you understand why certain patterns excel in specific recording situations. For content creators working with limited budgets, understanding how different polar patterns affect your recording quality becomes invaluable. By strategically positioning mics to exploit each pattern’s rejection zones, you’ll minimize unwanted sources while maximizing your primary instrument’s clarity and presence—whether you’re recording podcasts, gaming commentary, or professional audio.
The key to selecting the right polar pattern** lies in matching your microphone’s characteristics to both your recording environment and your specific application**, ensuring you get the best performance from affordable microphone solutions.
Determine Your Budget and First Microphone
You’ll find that entry-level microphones between $100 and $200 deliver professional results without requiring a substantial investment, making this range the sweet spot for most home-studio setups.
Budget-friendly versatile models like the Shure SM57 and Audio-Technica AT2020 balance cost against performance, allowing you to capture quality instrument recordings while preserving funds for an audio interface and accessories.
Your choice between dynamic and condenser types hinges on whether you’re prioritizing loud-source rejection or acoustic detail, which directly impacts your overall cost-to-capability ratio. Condenser microphones excel at capturing the nuanced frequencies of acoustic instruments, making them ideal for studio recordings where detail preservation is essential.
Entry-Level Microphone Options
When exploring entry-level microphone options, three primary paths exist: a dynamic XLR mic, a small-diaphragm condenser, or a USB mic for streamlined setup. Your decision hinges on budget, space, and instrument type—core considerations in any entry-level microphone guide.
USB vs XLR Considerations
Entry-level microphone options break down into two primary categories when evaluating connectivity:
- USB mics offer simplicity without requiring an audio interface—ideal for creators prioritizing ease of setup.
- XLR dynamics (like the SM57 at $99–$109) demand an interface but deliver professional flexibility that grows with your needs.
- Condensers need phantom power and controlled environments, making them less ideal for entry-level setups in untreated spaces.
- Dynamic vs condenser choice depends on your instruments: dynamics excel with loud sources; condensers capture acoustic detail. Dynamic microphones use a moving coil diaphragm to convert sound waves into electrical signals, making them particularly durable for instrument recording.
Choosing Within Entry-Level Microphone Options
The SM57’s 150 dB SPL handling and cardioid rejection make it a versatile workhorse among affordable entry-level microphone choices.
The AT2020 condenser suits acoustic instruments in treated spaces.
When selecting from available entry-level microphone options, choose based on what you’ll record most—whether that’s loud instruments, vocals, or detailed acoustic sources.
These affordable entry-level microphone options** represent the foundation of any home recording, streaming, or gaming setup**, offering genuine professional capability without overwhelming investment.
Budget-Friendly Versatile Models
Once you’ve narrowed down the microphone type that suits your primary instrument, the real work begins: pinpointing a budget-friendly versatile model that won’t drain your wallet while still delivering genuine flexibility across multiple sources.
The $99–$150 range represents the sweet spot where you’ll find affordable options like the Shure SM57, Audio-Technica AT2020, and AKG P120. These budget-friendly versatile choices handle vocals, guitars, drums, and general instrumentation effectively, making them ideal for creators and musicians seeking versatility without overspending.
The AT2020 especially excels as an all-rounder, capturing detail across nearly anything you throw at it—whether you’re podcasting, streaming, gaming, or recording professional content. Many of these affordable models utilize condenser microphone technology, which provides the sensitivity and frequency response needed to capture nuanced instrument details without requiring phantom power in all recording scenarios.
When selecting budget-friendly versatile models, allocate funds strategically toward accessories—interface, cables, stands—before expanding your collection. This approach ensures you’re investing in genuinely versatile microphones that adapt to your evolving needs rather than accumulating single-purpose gear.
Cost Versus Performance Trade-offs
Because your budget directly shapes which performance tier you can access, understanding the cost versus performance trade-offs proves essential to avoiding overspend on marginal gains. This balance between expenditure and output quality determines whether you’re making a smart investment or leaving money on the table.
You’ll find cost efficiency peaks in the $100–$200 range, where the performance trade-off shifts decisively in your favor. Below $100, you’re limited to entry-level options with minimal performance capabilities. Above $200, gains become incremental rather than transformational for first-mic purchases—the performance gains no longer justify the cost increase.
Your spending strategy depends on your environment and how performance and cost intersect within it:
- Untreated rooms: prioritize dynamics over sensitive condensers; the cost-to-performance ratio favors durability.
- Studio-only recording: condenser-first approach justifies clarity investment; performance gains warrant higher spending.
- Loud sources: dynamic durability outweighs condenser detail; cost efficiency improves with tougher builds.
- Acoustic instruments: condenser frequency response rewards mid-range spending; this is where performance-per-dollar peaks.
Recognizing these cost versus performance trade-offs across different use cases—whether you’re streaming, podcasting, gaming, or recording music—ensures you allocate your microphone budget strategically rather than chasing unnecessary specifications that don’t serve your actual setup. Understanding condenser microphone function helps you evaluate whether the sensitivity and frequency response benefits justify the added investment for your specific recording environment.
Place Your Microphone: Instrument-Specific Techniques
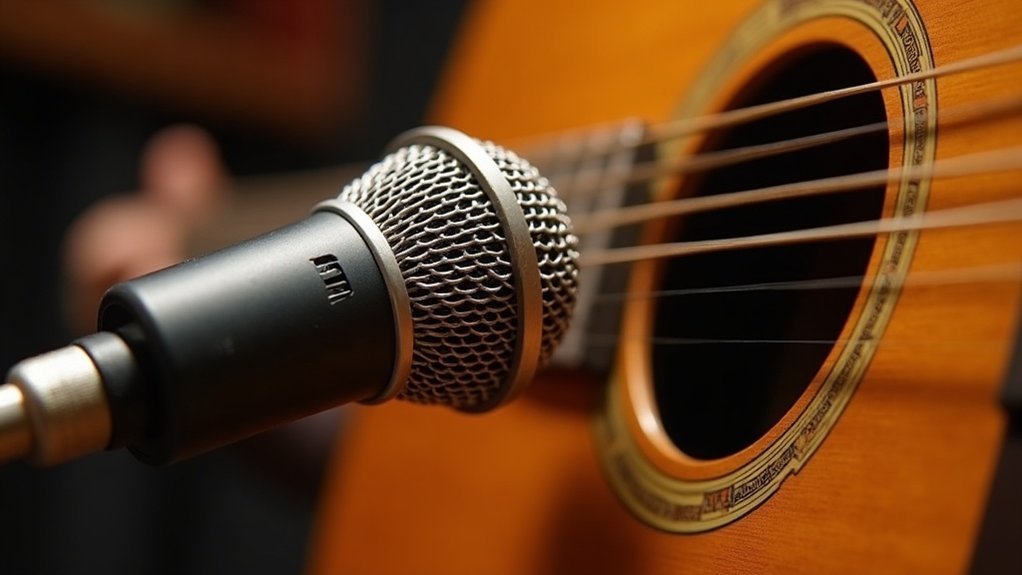
Where you position your microphone fundamentally shapes your recording’s tonal character and isolation from ambient noise. Mastering microphone placement for different instruments is essential to achieving professional results, even with affordable microphones.
For electric guitar and drums, apply instrument-specific microphone techniques by placing dynamic microphones close to your amplifier or source—this proximity maximizes isolation while controlling feedback in untreated rooms. These instrument-specific microphone placement techniques directly impact your final sound quality.
With acoustic instruments, position condensers at moderate distances to capture instrument resonance naturally. Microphone placement directly influences how you control room reflections; closer positioning reduces environmental capture, while careful angling preserves tonal balance.
Understanding microphone placement techniques for instruments helps you make informed decisions during your setup process. You’ll find that experimenting with distance and angle reveals how each instrument’s unique resonance responds differently to mic proximity.
Whether you’re working with budget-friendly gear or premium equipment, proper microphone placement allows you to sculpt your desired sound with precision. These instrument-specific techniques for positioning your microphone separate amateur recordings from professional-quality results, making them crucial knowledge for creators, musicians, and content creators at any stage of their recording journey.








