
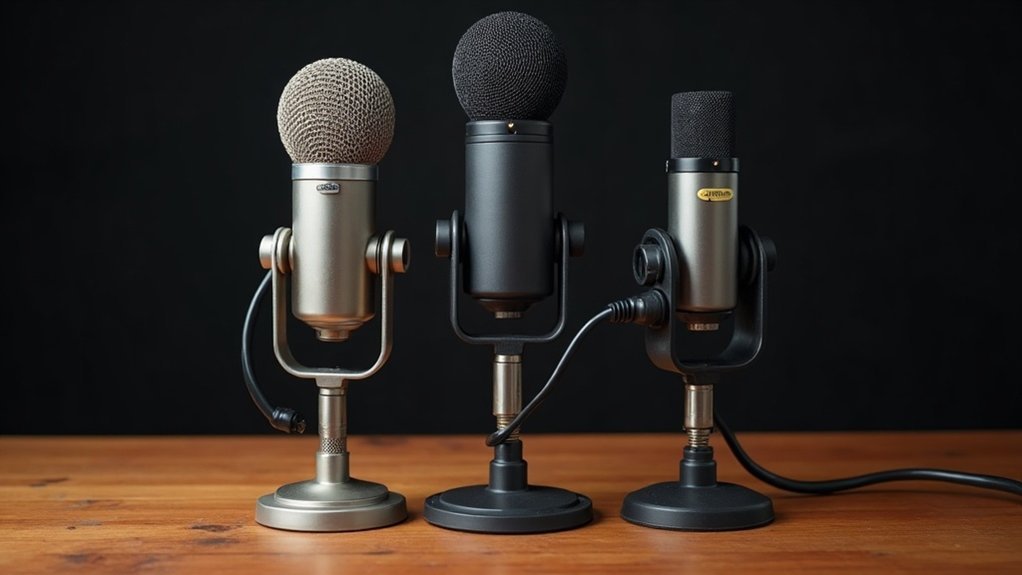
You’ll want a dynamic microphone if you’re recording in an untreated room—they’re excellent at rejecting ambient noise and isolating your voice. Their cardioid patterns capture clear on-axis audio without requiring acoustic treatment. When selecting the best microphone type for podcasting, dynamic mics are particularly suited for creators working in less-than-ideal environments. If you’ve invested in a treated studio, condenser mics reveal superior vocal detail and frequency nuance, making them ideal for podcasters prioritizing audio quality. Consider USB connectivity for solo creators or XLR for multi-host setups. Which microphone type is good for podcasting ultimately depends on your specific room environment and budget, as both options can deliver professional results when matched to your setup. Your recording space and financial investment determine which microphone type for podcasting delivers the results you’re seeking.
Key Takeaways
- Dynamic microphones with cardioid patterns excel in untreated rooms by effectively isolating voice and rejecting ambient noise.
- Condenser microphones deliver superior vocal detail but require acoustic treatment and quiet environments to perform optimally.
- USB connectivity offers simplicity for solo creators, while XLR provides better control and scalability for multi-host setups.
- Proper microphone placement and proximity technique maximize noise rejection, especially critical in rooms without acoustic treatment.
- Budget-friendly dynamic options like Samson Q2U and ATR2100x balance professional audio quality with practical affordability for beginners.
Which Microphone Type Matches Your Recording Space?
Selecting the right microphone type that matches your recording space is essential for achieving professional audio quality. Your recording environment fundamentally shapes which microphone types suit your needs and budget.
In treated, quiet rooms, large-diaphragm condensers deliver superior podcast clarity and audio fidelity through high sensitivity. However, choosing a microphone type for untreated spaces demands cardioid dynamic microphones for sound isolation and ambient noise rejection.
Large-diaphragm condensers excel in treated rooms, while cardioid dynamics provide superior isolation for untreated spaces.
USB cardioid dynamics work exceptionally well for solo podcasting setups, balancing gear simplicity with space acoustics control while remaining affordable for content creators. Condenser microphones require phantom power, which is an important consideration when selecting equipment for your specific setup.
For group discussions, understanding which microphone type matches your collaborative recording environment means considering omnidirectional patterns that capture all speakers, though room treatment remains critical for minimizing echo and reverb. Dynamic microphones excel at rejecting unwanted ambient noise in group recording scenarios.
Whether you’re streaming, gaming, or producing music, the microphone type matching your space should prioritize sound quality while accommodating your room’s acoustic limitations and isolation capabilities.
When evaluating microphone types that match different recording spaces, consider both your budget constraints and long-term recording goals.
Entry-level creators benefit from honest assessments of how various microphone types perform in real-world bedroom studios, basements, or home offices. Hard surfaces reflect sound waves, creating boxy and hollow recordings that diminish audio quality.
Professional broadcasters and musicians should recognize that selecting the appropriate microphone type aligned with your specific recording space—whether treated or untreated—directly impacts your final audio output quality and listener experience across podcasting, streaming, and gaming platforms.
Dynamic Mics in Untreated Rooms: The Safest Start
If you’re recording in an untreated room, you’ll benefit from dynamic mics‘ superior room noise rejection—their cardioid patterns and lower sensitivity naturally isolate your voice while rejecting off-axis reflections and ambient sound.
You’ll achieve clearer voice isolation and on-axis clarity by positioning the mic close (2–4 inches from your mouth), a technique that maximizes direct signal relative to room pickup. Supercardioid pickup patterns offer even greater rejection of room noise and bleed compared to standard cardioid designs.
This combination makes dynamic mics your most beginner-friendly option for capturing usable podcast audio without requiring extensive acoustic treatment or post-processing. Because dynamic mics don’t require external power, you can start recording immediately with just a microphone and audio interface, eliminating the need for phantom power setup or additional equipment investment.
Room Noise Rejection Excellence
Dynamic microphones deliver exceptional room noise rejection excellence for podcast recording in untreated spaces. Their cardioid patterns reject lateral and posterior sound, minimizing room reflections that condensers capture. You’ll notice they prioritize your direct voice over ambient noise—tráfico, air conditioning, keyboard clatter fade into the background.
Achieving optimal room noise rejection requires strategic mic placement; position yourself three to six inches away, angled toward the mic’s front lobe. Keep distance from walls and hard surfaces to reduce reflections further. This proximity technique leverages the microphone’s natural rejection characteristics. Advanced noise reduction technology with low self-noise levels further enhances audio clarity in untreated environments.
The room noise rejection excellence you gain from this combination—dynamic mic plus proper placement technique—delivers professional-grade noise reduction without requiring expensive acoustic treatment. This makes it the industry-standard approach for home podcasters, gamers, and creators working in less-than-ideal recording environments. Built-in features like pop filters and shock mounts further enhance sound quality by reducing plosive sounds and handling noise.
For affordable microphones that prioritize room noise rejection, dynamic models consistently outperform their condenser counterparts in untreated spaces.
Whether you’re streaming, recording music, or producing podcasts, understanding how to maximize your microphone’s rejection capabilities ensures clean audio regardless of your room’s acoustic properties. This foundational knowledge transforms any space into a functional recording environment.
Voice Isolation and Clarity
Because untreated rooms amplify reflections and ambient noise, you’ll want to prioritize a dynamic microphone for voice isolation and clarity—especially when you’re just starting out.
Voice isolation and clarity is essential for creators recording in less-than-ideal acoustic environments, and dynamic mics excel at delivering this performance.
Dynamic mic advantages stem from their cardioid polar patterns, which reject side and rear sound while emphasizing direct voice. For recording distance impact, position yourself 2–4 inches from the grille to maximize the direct-to-room sound ratio. This mic placement strategy reduces room coloration considerably and directly enhances voice isolation and clarity in your recordings. Gain adjustments are necessary to match the perceived loudness of your voice across different microphone types and recording conditions.
Achieving voice isolation and clarity without treating your space requires understanding how microphone design handles room reflections. The cardioid pattern’s directional sensitivity allows dynamic mics to focus on capturing sound from the front while minimizing pickup from unwanted angles. The proximity effect of dynamic mics naturally boosts your vocal presence while rejecting environmental noise—a critical feature for podcasters, streamers, and musicians working in untreated spaces.
Combined with proper mic placement strategies and voice clarity techniques, you’ll capture focused vocal tracks without extensive post-processing. This approach to voice isolation makes dynamic mics your ideal solution for acoustic challenges in home studios and casual recording setups.
Whether you’re building a budget-friendly streaming rig or upgrading your podcast equipment, prioritizing voice isolation and clarity through dynamic microphone selection is fundamental to professional-sounding results from day one.
Beginner-Friendly Setup Advantage
Dynamic mic advantages shine here: they reject ambient noise, require no phantom power, and work reliably in ordinary rooms—the core benefits of a beginner-friendly setup. You’ll position the mic close to your mouth, keeping your voice dominant over background reflections.
Entry-level models like the Samson Q2U and ATR2100x deliver professional results without complexity, perfectly embodying the beginner-friendly setup advantage that new podcasters need. Both options feature XLR and USB connectivity, allowing you to upgrade your interface later without replacing your microphone. The cardioid polar pattern employed by these dynamic microphones provides additional rejection of unwanted rear sound capture. Dynamic microphones are particularly effective in live performance settings where their durability and noise rejection capabilities are essential.
Beginner podcasting succeeds when you prioritize practical noise rejection and straightforward setup over expensive gear designed for treated studios. This beginner-friendly approach to equipment selection removes barriers to entry and lets you focus on content quality rather than technical complexity.
The advantage of a beginner-friendly setup is that it builds your foundation on reliability and simplicity first, allowing you to scale your equipment sophistication later as your skills and acoustics improve.
Condenser Mics in Treated Studios: More Detail, More Demand
You’ll find that condenser microphones excel in capturing vocal detail and frequency nuance—advantages that directly serve podcasting’s demand for clarity—but they demand acoustic treatment to justify their sensitivity. Their heightened responsiveness to room reflections and ambient noise means you’re investing in both the microphone and the acoustics of your space; without proper treatment, you’ll amplify defects rather than detail. The diaphragm’s electrostatic design enables this sensitivity, making accurate placement and room preparation critical factors in your setup. Essential accessories like shock mounts and pop filters further enhance performance by reducing vibrations and eliminating plosive sounds that compromise audio quality.
When your studio meets these technical requirements, condensers deliver the transparent, refined vocal capture that distinguishes professionally produced podcasts.
Clarity In Controlled Environments
Condenser microphones release their full potential in treated studios, where clarity in controlled environments becomes non-negotiable for capturing vocal detail and nuance that dynamic alternatives can’t match. You’ll notice the difference immediately—breath texture, consonant articulation, and tonal warmth emerge with the clarity that only proper controlled environments can deliver. This condenser benefit demands precision: consistent speaking distance, careful gain staging, and a clean signal chain. Your studio’s acoustic treatment becomes essential; condensers expose every room tone decision you’ve made, making environmental control the foundation of professional recording.
Achieving clarity in controlled environments rewards serious producers and content creators who prioritize polish. Whether you’re recording podcasts, streaming gameplay, or capturing music, the controlled acoustic space works in tandem with your microphone to ensure broadcast-quality results.
| Aspect | Requirement |
|---|---|
| Room Treatment | Acoustically controlled environment essential for clarity |
| Technique | Consistent mic distance & gain for controlled capture |
| Setup | XLR or USB phantom power in treated space |
| Outcome | Broadcast-quality vocal clarity through environmental precision |
The payoff of investing in clarity through controlled environments is immediate: every word, every breath, every nuance comes through with professional-grade fidelity. For creators seeking affordable microphones that perform at their best, understanding how to create these controlled acoustic environments transforms even budget-friendly condensers into precision instruments.
Sensitivity Requires Acoustic Treatment
Because condenser microphones operate at substantially higher sensitivity levels—typically 10 to 20 mV/Pa, with premium models reaching 50 to 60 mV/Pa—they’ll capture far more environmental detail than dynamic alternatives.
However, this heightened sensitivity requires acoustic treatment to function optimally. Untreated rooms amplify reflections and room coloration, making recordings sound boxier and harsher, which undermines the very advantages that justify choosing a sensitive condenser mic in the first place.
Sensitivity requires acoustic treatment because without it, your microphone becomes a liability rather than an asset. Strategic acoustic treatment reduces early reflections and establishes acoustic balance that allows your condenser’s sensitivity to reveal vocal nuance, fine articulation, and dynamic subtlety—the hallmarks of professional podcasting.
When your recording space includes proper acoustic treatment, you’ll preserve the clarity that affordable condenser microphones can deliver, preventing ambient noise from masking the subtle details that separate amateur recordings from professional-quality content. Determining whether a condenser microphone suits your specific podcasting setup depends on your ability to implement acoustic treatment in your recording environment.
For creators and podcasters working with budget-conscious setups, understanding that sensitivity requires acoustic treatment is essential context before investing in a sensitive microphone.
Treated spaces transform high-sensitivity condensers into precision tools rather than ambient noise collectors, ensuring your affordable microphone investment pays dividends through cleaner, more polished recordings suitable for streaming, gaming commentary, and professional audio production.
USB or XLR: Choosing Your Connection Type
Sound quality remains comparable for spoken-word content, though XLR’s separate preamp and audio interface grant superior recording complexity control. USB microphones connect directly to your computer via a USB port, whereas XLR microphones require an external audio interface to function as an intermediary between the microphone and your recording device.
For those new to USB versus XLR decisions, USB beginners avoid cost comparison disadvantages—no interface required. However, choosing between USB and XLR becomes clearer when considering XLR’s upgrade path, which supports multi-microphone scalability and independent component replacement.
Your workflow differences matter significantly when selecting USB or XLR** options: USB handles one-person operations efficiently, while XLR manages multiple speakers** seamlessly.
When creators face the choice of USB or XLR connection types, the decision ultimately hinges on your growth trajectory.
Choose USB for simplicity and immediate deployment, but consider USB versus XLR comparison carefully if you’re planning to scale from beginner-to-professional growth trajectories.
Understanding the nuances of choosing your connection type—whether USB or XLR—ensures your microphone investment aligns with both your current recording setup and your long-term podcasting ambitions.
Beginner Picks: Best Podcast Mics Under $200
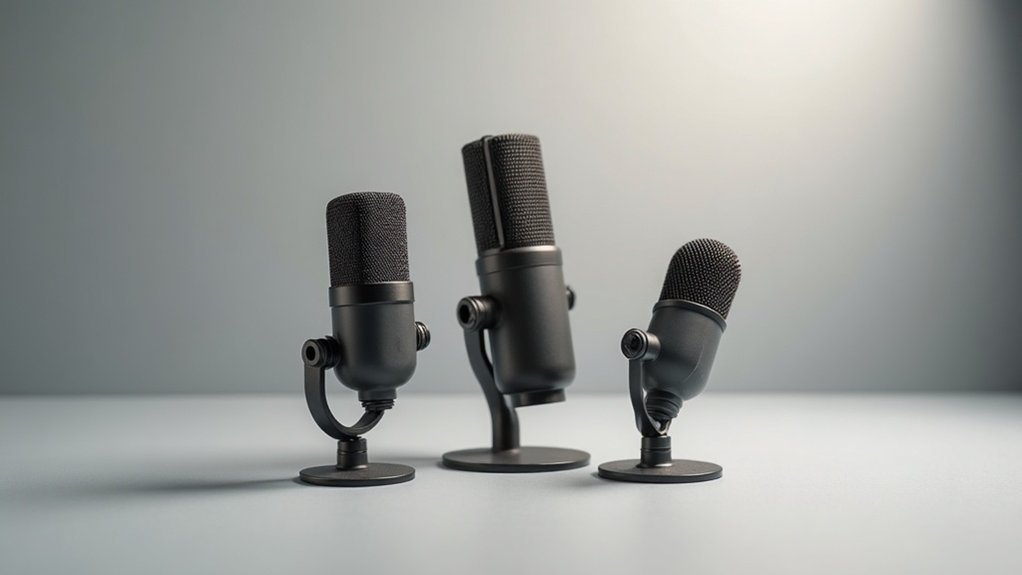
Best Podcast Mics Under $200
Starting your podcast doesn’t require spending thousands on professional gear—the best podcast mics under $200 deliver broadcast-quality sound without overwhelming complexity. When exploring budget podcast microphones, dynamic options excel in untreated rooms, making them ideal for beginners establishing their setup foundation.
| Mic Model | Type | Key Strength |
|---|---|---|
| Samson Q2U | Dynamic USB | Best budget value |
| RØDE PodMic | Dynamic XLR | Superior sound quality |
| Shure MV7 | Dynamic USB/XLR | Premium build quality |
| Audio-Technica ATR2100x-USB | Dynamic USB | Flexible connectivity |
These podcast microphone comparisons for creators reveal affordable podcast mics balancing cost with professional-grade performance. Whether you’re a content creator, gamer, or musician, selecting from these top podcast microphones under $200 enables you to launch confidently without compromise. This podcast mic buying guide focuses on cheap podcast microphones that don’t sacrifice audio quality, ensuring your investment in these inexpensive podcast mics pays dividends from day one.
When to Upgrade: From USB to XLR and Beyond
When should you move beyond USB? You’ll recognize genuine upgrade triggers when you’re recording multiple speakers, need separate tracks per host, or operate from a fixed studio.
When to upgrade from USB to XLR and beyond becomes clear once you understand what each technology offers. XLR delivers superior audio control through dedicated preamps and outboard processing, enabling broadcast-quality signal chain management. Multi-host setups benefit from XLR’s recording flexibility and modular expansion capabilities.
Upgrading from USB to XLR opens doors to professional-grade equipment that grows with your needs. If three or more triggers align with your workflow, XLR justifies its investment.
The transition from USB to XLR and beyond doesn’t have to be abrupt. Consider hybrid microphones as practical pathways—they bridge USB simplicity with XLR potential, letting you upgrade gradually across your entire setup. USB microphones work well for solo content creators, but their limitations become apparent as your streaming setup grows in complexity.
Moving beyond USB requires honest assessment of your actual constraints. Don’t rush the change; migrate only when your recording demands, streaming requirements, or podcasting ambitions genuinely necessitate the expanded capabilities that XLR systems provide.
This staged approach ensures you invest in upgrades precisely when they’ll amplify your audio quality and creative output.
Cardioid Patterns: Why They’re Podcasting’s Standard
Because you’ll encounter cardioid microphones on virtually every podcast setup, understanding cardioid patterns—why they’re podcasting’s standard****—becomes essential to your microphone selection.
Cardioid captures sound primarily from the front while rejecting rear and side pickup by approximately -20 dB, isolating your voice and suppressing room noise effectively. This heart-shaped cardioid pattern dominates podcasting because it delivers superior sound quality in non-ideal acoustic spaces.
Most popular microphone models feature cardioid designs for solo and two-person setups alike. Position the capsule 4–8 inches from your mouth, aimed directly at your source.
You’ll achieve professional-grade isolation without requiring treated studios, making the cardioid standard the practical choice across the creator community—whether you’re podcasting, streaming, gaming, or recording professional audio on a budget. In contrast, omnidirectional microphones capture sound equally from all directions, making them less suitable for most podcast environments where background noise rejection is important.








