

If your microphone sounds robotic, it’s likely due to network issues, low-quality hardware, or signal processing problems. When experiencing robotic audio from your microphone, packet loss and high latency can distort your sound, while subpar microphone quality contributes to tinny effects. Additionally, incorrect sample rates or outdated drivers may introduce further distortion, leading to that robotic sound. To improve your audio quality and eliminate that robotic microphone effect, consider optimizing your equipment and environment. By exploring effective solutions, you can significantly enhance your sound experience, whether you’re podcasting, streaming, or gaming. In the following sections, we’ll delve into tips and tricks to ensure your microphone delivers clear, professional-quality audio.
Key Takeaways
- Network issues like packet loss and high latency can cause audio artifacts, resulting in a robotic sound.
- Poor-quality microphones or faulty hardware can degrade sound quality, making it sound metallic or distorted.
- Low microphone volume affects clarity, contributing to a robotic audio experience.
- Compression settings and low bandwidth can distort audio, leading to choppy or robotic sounds.
- Inconsistent sample rates across devices can create synchronization issues, affecting overall audio fidelity.
Why Does My Microphone Sound Robotic?
Why does my microphone sound robotic? This robotic sound is often the result of network issues like packet loss and high latency, which introduce audio artifacts during calls. Additionally, codec problems can compress your voice, sacrificing clarity for bandwidth. Hardware limitations, such as faulty microphones or sources of interference, can further degrade sound quality, leading to that frustrating digital distortion. To address why your microphone sounds robotic and enhance communication quality, follow troubleshooting steps like checking your network stability, adjusting audio settings, and ensuring your drivers are updated. Microphone technology plays a crucial role in determining the overall sound quality, so understanding its nuances can help you troubleshoot effectively. Echo results from feedback between speakers and microphone, which can also contribute to the robotic sound. Recognizing the impact of low microphone volume can also help you identify issues related to sound clarity.
Common Causes of Robotic Audio Quality
Robotic audio quality stems from several common issues that disrupt sound clarity, significantly affecting creators, gamers, musicians, and professionals.
Poor microphone quality, particularly with integrated or low-end models, often leads to tinny, metallic sounds that contribute to the overall robotic audio quality. Robotic mic audio indicates issues with the signal path, which can further complicate the audio experience. A high latency in audio can also exacerbate these issues, leading to a disjointed listening experience.
Poor microphone quality, especially from low-end models, can create tinny sounds that amplify robotic audio issues.
Network problems such as packet loss or jitter can create choppy audio, while low bandwidth triggers aggressive compression, resulting in synthetic voices that detract from the listening experience. Additionally, poor network connection can exacerbate these issues, leading to further audio degradation.
Furthermore, outdated audio drivers or mismatched sample rates may introduce distortion, further compromising sound fidelity.
Hardware limitations, including faulty cables or wireless interference, complicate the situation.
Finally, software configurations—like excessive noise suppression—can strip audio of its natural tone, exacerbating the issues associated with robotic audio quality.
Addressing these factors is essential for improving your audio experience and ensuring that your recordings resonate authentically.
How to Fix Digital Signal Processing Problems
To resolve robotic audio quality, start by adjusting your compression settings to guarantee they’re not overly aggressive, which can distort your voice. Additionally, microphone gain plays a crucial role in ensuring your audio is captured accurately and clearly. Next, optimize your audio drivers; outdated or incompatible drivers can exacerbate digital signal processing issues. Additionally, consider utilizing DSP capabilities to filter out unwanted noise and enhance your overall sound quality. Implementing distributed microphone arrays can also significantly improve audio capture by providing a wider spatial coverage and better recording quality.
Adjust Compression Settings
When you adjust compression settings, you can greatly enhance your microphone’s audio quality and eliminate unwanted artifacts. Properly managing compression thresholds not only improves voice clarity but also preserves audio dynamics, which is essential for a polished sound. However, heavy compression can flatten your voice, creating a robotic effect. To achieve ideal results, especially when you adjust compression settings, consider the filter interactions in your setup. If the audio sounds robotic and fuzzy, it may indicate that compression settings are improperly configured. Understanding dynamic range is crucial for effectively applying compression.
| Setting | Recommendation |
|---|---|
| Compression Strength | Reduce to 50-70% |
| Limiter Threshold | Set moderately, avoid aggression |
| Noise Suppression | Disable or lower settings |
| Test Recordings | Use without effects |
| Input Levels | Keep at 60%-75% |
Optimize Audio Drivers
Adjusting compression settings can markedly improve your audio quality, but if you’re still experiencing a robotic sound, optimizing audio drivers is the next step.
To effectively optimize audio drivers, start by ensuring driver compatibility; install the latest audio interface drivers directly from the manufacturer. A clean driver reinstall can clear corrupt DSP configurations, which is crucial for achieving optimal audio performance.
Focus on performance tuning by increasing audio buffer size and managing latency settings to prevent distortion.
When optimizing audio drivers, it’s important to synchronize your sample rate and bit depth across applications to avoid resampling artifacts. Additionally, disabling unnecessary driver-level enhancements can streamline DSP configuration, enhancing clarity and reducing unwanted robotic modulation in your audio output. Understanding phantom power can also help ensure your microphone is receiving the necessary voltage for optimal performance.
How to Address Sample Rate and Bitrate Issues
To resolve robotic sound issues, start by checking your sample rate settings across your microphone, operating system, and applications. Confirm they’re consistently set to 44.1 kHz or 48 kHz to maintain audio clarity. The sample rate directly influences the fidelity of your recordings, so ensuring it matches across all devices is critical. Updating your audio drivers can also help prevent format mismatches and enhance overall performance. Addressing audio quality issues is crucial, as they often stem from hidden system conflicts that can go unnoticed.
Check Sample Rate Settings
How can you guarantee your microphone delivers clear audio without robotic distortions? Start by checking the sample rate settings across your operating system, audio interface, and applications. Mismatched rates often lead to choppy audio and artifacts.
To ensure optimal performance, focus on the sample rate settings, aiming for a stable recording sample rate of 44.1 kHz or 48 kHz. These values enhance audio quality significantly. Users have reported issues with robotic noises that often stem from improper settings, highlighting the importance of this adjustment. Resolving voice sounding robotic can significantly improve your overall gaming experience. Additionally, using XLR microphones can provide better sound quality and reduce the chances of distortion due to their superior connectivity.
It’s crucial to ascertain consistent software synchronization, especially in platforms like OBS or Discord, which typically expect a sample rate of 48 kHz.
In your quest to check sample rate settings, also adjust bitrate configuration and channel settings to align with your microphone type and device compatibility.
This meticulous approach to checking sample rate settings can greatly reduce robotic sound issues in your recordings, allowing your voice to shine through clearly.
Update Audio Drivers
When you encounter robotic sounds from your microphone, updating audio drivers can often resolve the issue by aligning the device’s negotiated audio format with the correct settings.
To ensure optimal performance and sound quality, follow these steps for effective driver updates:
- Open Device Manager and locate your audio device.
- Right-click and select Update driver to search for newer versions.
- Consider downloading drivers from the manufacturer’s support site for better driver compatibility.
- If issues persist, use the generic High Definition Audio Device driver as a temporary solution.
By taking these steps to update audio drivers, you can enhance audio quality and ensure your microphone performs at its best without distortion. Additionally, using a quality microphone preamp can significantly improve your sound capture by providing better gain and clarity.
This is crucial for creators, gamers, musicians, and professionals who rely on clear sound for podcasting, streaming, and recording.
Keeping your audio drivers up to date is essential for maintaining high-quality audio performance.
Optimizing Your Hardware for Clear Sound
Enhancing your hardware for clear sound is crucial for achieving pristine audio, as even minor deficiencies can lead to a robotic sound.
Start by selecting a high-quality microphone, preferably USB or XLR, and ensure proper microphone placement to capture sound effectively. Investing in a reliable audio interface with clean preamps is essential; also, match your sample rate with system settings to avoid artifacts that can compromise clarity.
Utilizing short, high-quality cables enhances signal integrity and reduces interference, which is vital for optimizing your hardware for clear sound.
Experiment with different USB ports, steering clear of overloaded hubs, and make sure all connections are secure to prevent micro-disconnects. By prioritizing cable quality and connection types, you significantly improve your audio clarity and richness, ultimately maximizing your audio setup for streaming, podcasting, or recording. Additionally, a USB audio interface plays a crucial role in ensuring optimal sound conversion and quality.
Make Your Space Sound Better
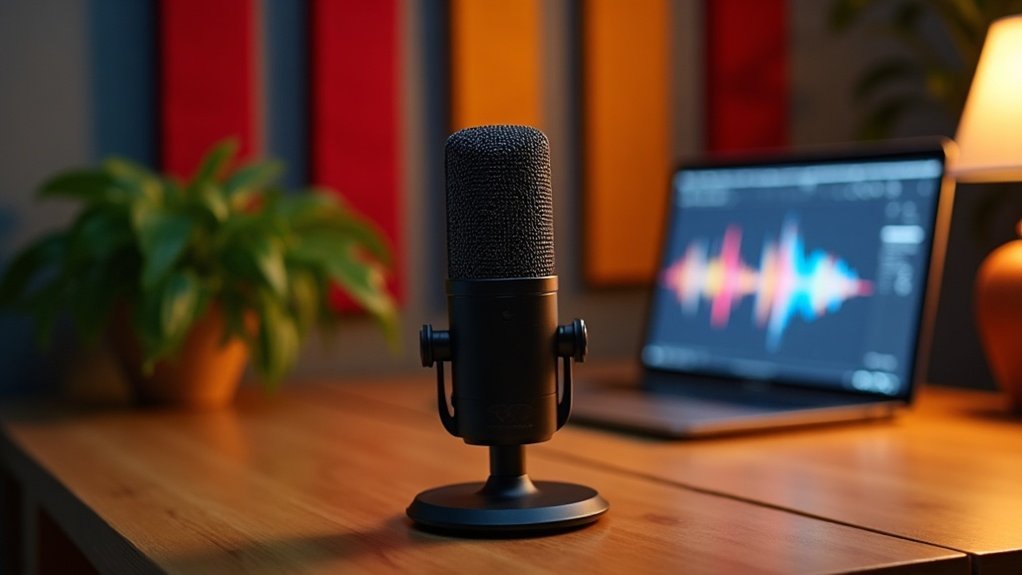
To make your space sound better, achieving clear audio is essential, and the sound quality of your recording environment plays a pivotal role.
Implementing effective room treatment can greatly enhance your microphone’s performance. Here are some essential strategies to consider:
- Install acoustic panels at first-reflection points for improved sound absorption, helping to ensure that your space sounds better.
- Position bass traps in corners to manage low-frequency buildup, which is crucial for making your space sound better.
- Optimize your room layout by keeping the mic away from reflective surfaces, further contributing to a sound environment that truly enhances your recordings.
- Utilize speaker management techniques to minimize background noise interference, allowing your content to shine in a space that sounds better.
- Consider that acoustic panels are designed specifically to absorb sound waves, which can significantly reduce unwanted reflections and improve overall audio clarity.








