
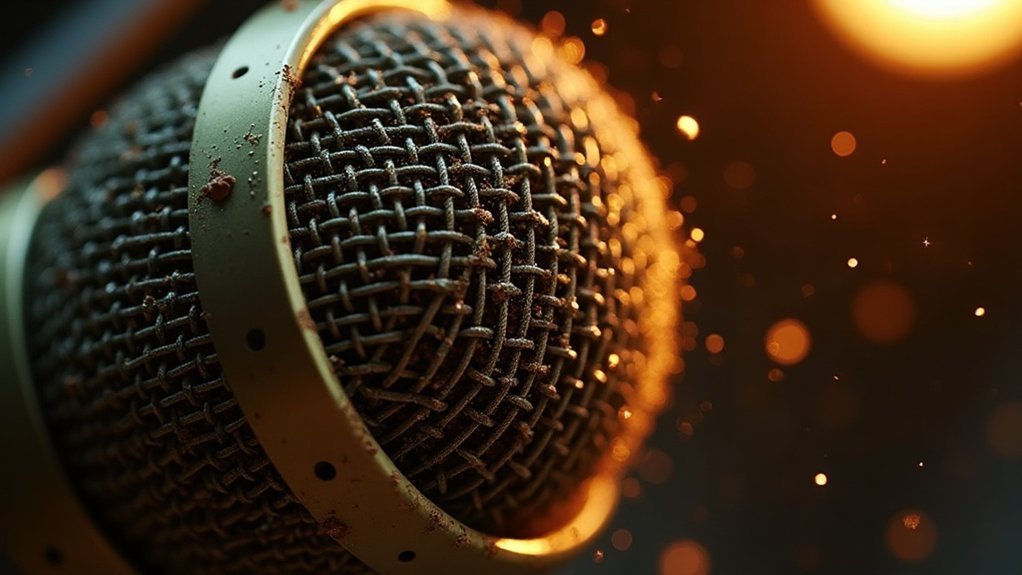
Your microphone’s crackling likely stems from loose connections, physical damage, improper gain settings, electrical interference, or outdated drivers. If you’re experiencing why your microphone crackles, start by inspecting cables for fraying and corrosion, then check gain levels—they should peak between -18 to -12 dBFS. Verify your microphone isn’t near AC power sources or transformers causing electromagnetic interference.
Understanding why does your microphone crackle is essential for creators, gamers, musicians, and professionals relying on quality audio for podcasting, streaming, gaming, and recording. Update your drivers and review software configurations to eliminate potential causes. If crackling persists across multiple cables and interfaces, hardware degradation may require replacement.
Systematic troubleshooting through each of these areas will pinpoint your specific issue and help you understand why microphones crackle in the first place. Whether you’re using an affordable microphone or a premium model, addressing crackling early ensures consistent audio quality for your content creation needs.
Key Takeaways
- Loose or damaged cables and connectors are the most common cause of crackling audio in microphones.
- Electrical interference from nearby devices and ground loop hum can introduce crackling noise into your audio signal.
- Excessive gain levels causing audio clipping will produce crackling distortion; maintain microphone levels at 50–80% capacity.
- Moisture and physical damage to the microphone internals may cause mechanical noise and crackling sounds.
- Outdated drivers and software misconfigurations can cause crackling; update drivers and run OS troubleshooters to resolve issues.
Check Your Cables and Connections First
Before you replace your microphone or investigate software settings, check your cables and connections first—they’re the most common culprit behind crackling audio. Start by ensuring every connection sits firmly: microphone, interface, extensions, and adapters. Loose contacts repeatedly cause intermittent noise.
When you check your cables and connections, inspect them for damage, fraying, or corrosion near connectors where stress concentrates. Connector quality matters—cheap connectors create unreliable contact and undermine even the best affordable microphone setup. Consider whether your setup uses balanced or unbalanced connections, as each type has different vulnerability to interference and signal degradation.
Checking cables and connections thoroughly involves testing by swapping to a known working cable or reconnecting each component one at a time. Move cables while monitoring for noise-sensitive faults. Pay particular attention to corroded pins or torn shielding as faulty wiring in cables commonly leads to crackling sounds. Additionally, clean audio connectors with high-purity alcohol since dirty audio jacks and ports can block sound signals and cause audio problems.
This systematic approach to checking your cables and connections isolates whether your audio chain has a genuine connection problem before pursuing further diagnostics—especially important whether you’re podcasting, streaming, gaming, or recording professional content on a budget-friendly microphone setup.
Look for Physical Damage and Environmental Issues
Physical damage and environmental issues represent the second-most common source of crackling audio, especially once you’ve ruled out connection problems. When investigating physical damage and environmental issues affecting your microphone, conduct a thorough inspection for dents, cracks, or deformities on your microphone body and capsule—these correlate directly with internal component damage.
Check for loose internal elements by gently shaking your microphone; rattling indicates mechanical noise sources that worsen audio quality.
Moisture management is equally critical when addressing environmental issues: condenser diaphragms are particularly vulnerable to moisture-induced shorts and crackling. Environmental factors like humidity, temperature fluctuations, and dust accumulation can severely compromise microphone performance, especially for affordable microphones used in home studios. Additionally, electrical interference from nearby electronic devices can introduce crackling sounds into your audio signal even when the microphone itself remains undamaged. Similar to electrical interference, microphone hum from AC power sources can also degrade audio quality during recording sessions.
Inspect XLR connectors and ports for dust, dirt, or corrosion that disrupts electrical contact—common environmental damage in streaming and gaming setups. Physical damage to these connectors often goes unnoticed but directly causes crackling during recording sessions. For persistent moisture problems affecting your microphone performance, professional cleaning is recommended to thoroughly address internal component damage.
Store your microphone in low-humidity environments within ventilated cases to prevent long-term condensation damage.
For creators and professionals relying on affordable microphones for podcasting, streaming, or music recording, proper environmental storage is essential to extending microphone lifespan and maintaining audio quality. Protecting against physical damage and environmental issues through preventative storage practices eliminates costly repairs and ensures consistent, clean audio for your content.
Examine Your Gain and Audio Levels
You’ll want to systematically audit your entire signal chain to optimize your gain and audio levels:
- Check audio meters during recording; peaks should sit between -18 to -12 dBFS for normal speech, never exceeding -6 dBFS.
- Adjust your microphone dial to 50–80% capacity while maintaining proper speaking distance of 15–25 cm.
- Balance OS and software sliders around 60–75%, disabling any boost features that amplify unnecessarily.
Coordinated gain and audio level staging across microphone, interface, and operating system eliminates instability and crackling artifacts. Understanding how gain affects your signal throughout the recording chain helps you identify where distortion originates. If distortion persists at normal levels, use a recording app to monitor your signal in real time and identify whether the issue stems from clipping or other sources. Inadequate audio driver updates can also prevent your system from properly processing audio signals at optimal levels.
For content creators working with affordable microphones, mastering these gain and audio level fundamentals ensures clean, professional recordings without investing in expensive gear.
Check Your Power Supply and Phantom Power
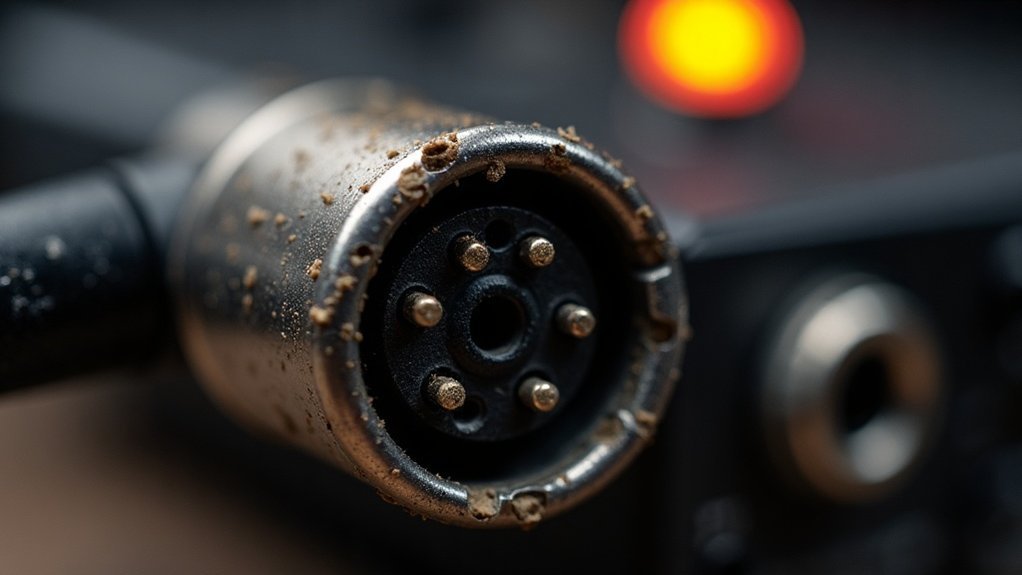
Inspect XLR cables for solder faults and intermittent connections; faulty wiring tops the list of phantom-related problems. Inadequate phantom power voltage supply can cause crackling in condenser microphones, so verify correct voltage supply from your audio interface or mixer to ensure optimal performance. Connect your microphone before activating phantom power to avoid damaging connected equipment. Phantom power typically uses a balanced audio connection to safely deliver DC voltage alongside your audio signal without interference.
Checking your phantom power settings prevents damage to dynamic microphones and eliminates unnecessary noise. Avoid hot-plugging microphones and confirm dynamic mics don’t have phantom power unnecessarily engaged.
Replace cheap power strips with conditioned supplies to eliminate voltage sag that manifests as pops and static.
For creators and musicians on a budget, checking power supply integrity is particularly crucial—affordable audio interfaces often prove more sensitive to power fluctuations than premium gear.
A dedicated power conditioner represents one of the most cost-effective upgrades for stabilizing your entire recording chain. Ensure your phantom power supply remains clean and consistent by investing in quality power management rather than relying on standard outlets, which can introduce hum and noise into even the best budget microphones.
Diagnose Electrical Interference and Grounding Problems
You’ll need to distinguish between electromagnetic interference (EMI) and radio frequency interference (RFI) sources—such as switching power supplies, Wi-Fi routers, dimmers, and fluorescent lighting—by relocating your microphone and interface away from these devices to confirm noise reduction.
Simultaneously, you should systematically test your grounding configuration by connecting all audio equipment to the same outlet or power strip to eliminate ground loop hum. Then verify that mic cables maintain proper distance from AC power cords and transformers to prevent magnetic coupling. Consider using ferrite cores on cables to suppress additional interference that may persist. In cases where interference persists despite these measures, long feed lines from dimmer switches in adjacent rooms can conduct electrical noise through building wiring to your recording space.
Finally, use a spectrum analyzer to visualize whether crackle clusters around mains frequencies (50/60 Hz harmonics) or RF carriers, which pinpoints the interference source and guides your shielding and cable routing corrections. A noise gate can help eliminate brief crackle bursts that fall below your desired audio threshold during quieter passages.
EMI And RFI Sources
You’re dealing with multiple environmental factors competing for clarity in your audio chain.
- Natural phenomena: Lightning discharges, solar flares, and cosmic noise establish baseline RF pollution affecting sensitive preamps and long cables. These natural RFI sources are particularly problematic in geographic regions prone to electrical storms or high solar activity.
- Power fluctuations: Mains hum, voltage spikes from motors, dimmers, and switched-mode power supplies contaminate your ground reference and audio path. These common EMI sources degrade affordable microphone performance across gaming rigs, podcast studios, and streaming setups alike.
- Electronic devices and wireless signals: Computers, televisions, Wi-Fi routers, and Bluetooth transmitters emit RF emissions that couple into your microphone cabling, degrading signal integrity.
For creators and gamers relying on budget microphones, identifying these EMI and RFI sources in your recording environment directly impacts audio quality. Modern wireless devices represent some of the most prevalent sources of interference affecting both entry-level and mid-range microphone systems. When unwanted noise persists despite identifying interference sources, implementing a noise gate can help suppress audio below your signal threshold during silent moments.
Grounding And Shielding Solutions
Inspect cable shielding integrity and route cables away from power lines to maintain signal purity across your recording environment.
If problems persist, install ground-loop isolators on analog paths. These shielding and grounding fixes prevent noise that compromises podcast audio quality and streaming performance.
Verify microphone chassis continuity using an ohmmeter—resistance above zero ohms signals a grounding fault requiring professional attention.
A preamp amplifies your microphone’s weak signal before it reaches other audio components, making proper grounding even more critical to prevent noise from being magnified through the signal chain.
Implementing comprehensive grounding and shielding solutions ensures your affordable microphone delivers clean audio comparable to higher-priced alternatives, making this setup tip essential for musicians, streamers, and professionals seeking optimal recording results without excessive investment.
Update Drivers and Review Software Settings
Running OS troubleshooters detects misconfigurations automatically, ensuring your microphone operates at peak stability. If your microphone remains undetected after these steps, consult microphone detection troubleshooting guides to diagnose hardware connectivity issues.
When Should You Buy a New Microphone?
How do you know when troubleshooting efforts have reached their limit and you should buy a new microphone? When crackling persists across cables, interfaces, and software settings, you’re facing hardware degradation that signals it’s time to buy a new microphone.
If you’ve shifted toward professional podcasting, streaming, or instrument recording, microphone upgrades become essential for audio quality that matches your ambitions.
Visible damage, intermittent dropouts, or mechanical noise from worn components signal reliability issues incompatible with critical sessions.
When you should buy a new microphone often comes down to compatibility gaps with newer devices or changing environmental demands—moving from quiet rooms to noisy spaces—which frequently necessitate different microphone types entirely.
Document these patterns systematically; they’ll justify your decision to buy a new microphone and guide selection toward equipment meeting your evolving professional standards.
Most microphones have a typical lifespan that depends on usage patterns, maintenance, and build quality, so understanding when yours has reached the end of its functional life helps you plan upgrades proactively.
Understanding when to buy a new microphone ensures you’re investing in gear that supports your growth as a creator, gamer, musician, or professional rather than continuing to compromise on audio quality with aging equipment.








